To view these edits as before & after GIFs please visit my Behance profile. To see them in video format scroll to the bottom of this page.
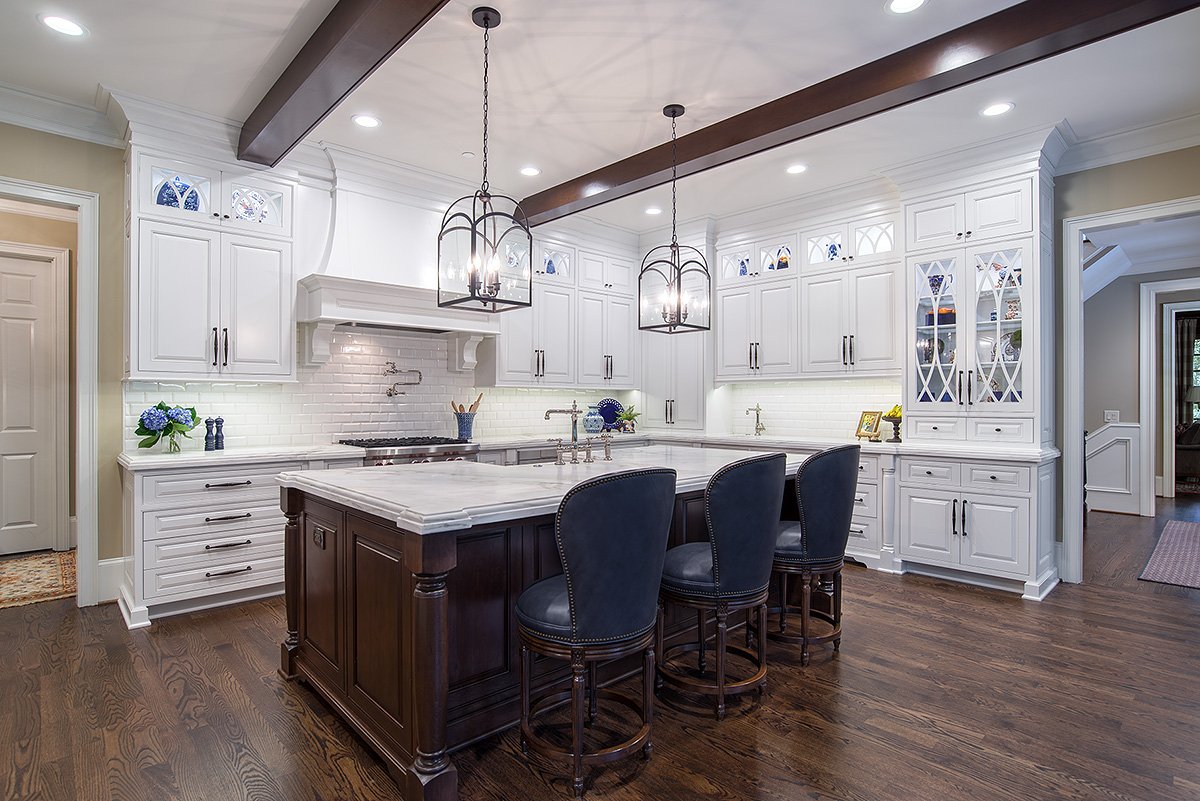
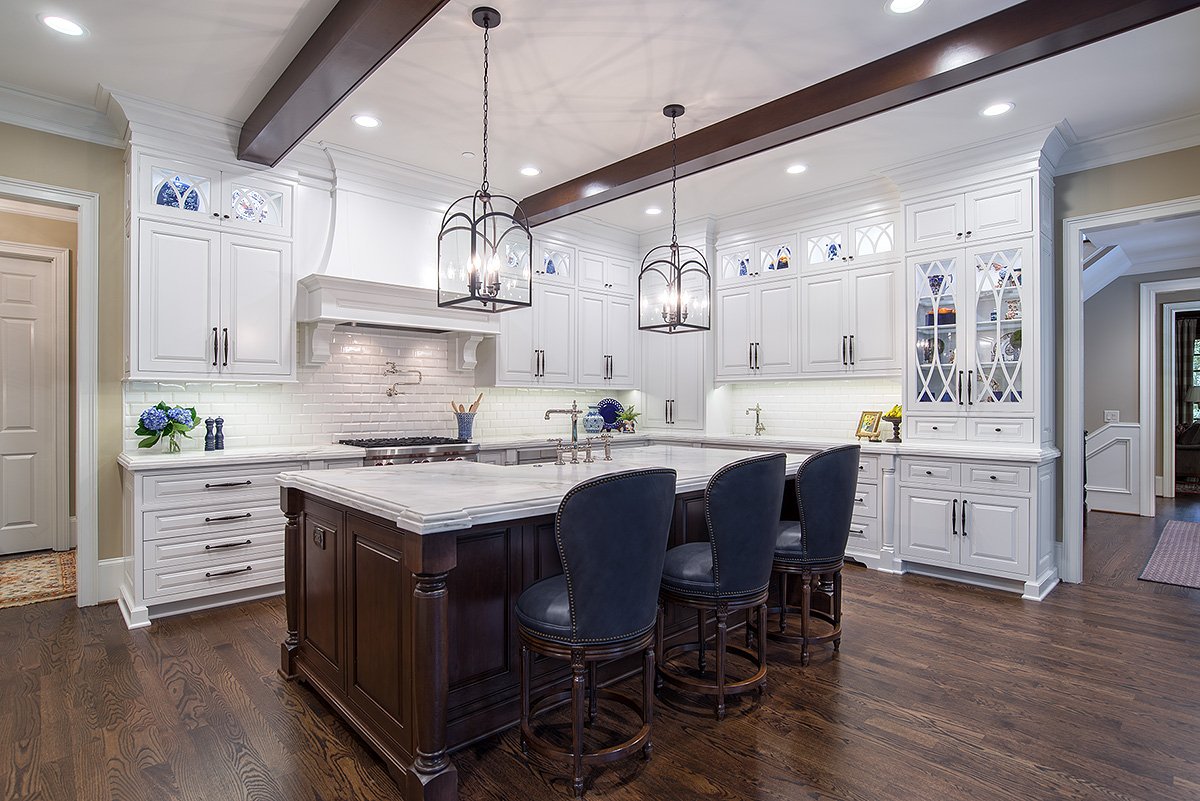
When I arrived to photograph this kitchen one of the lights under the range hood wasn’t working. The client asked if I could do anything about it in Photoshop. Getting the amount and color of light correct was important, but the detail that made it all come together was the shadows under the bottom edge of each tile.
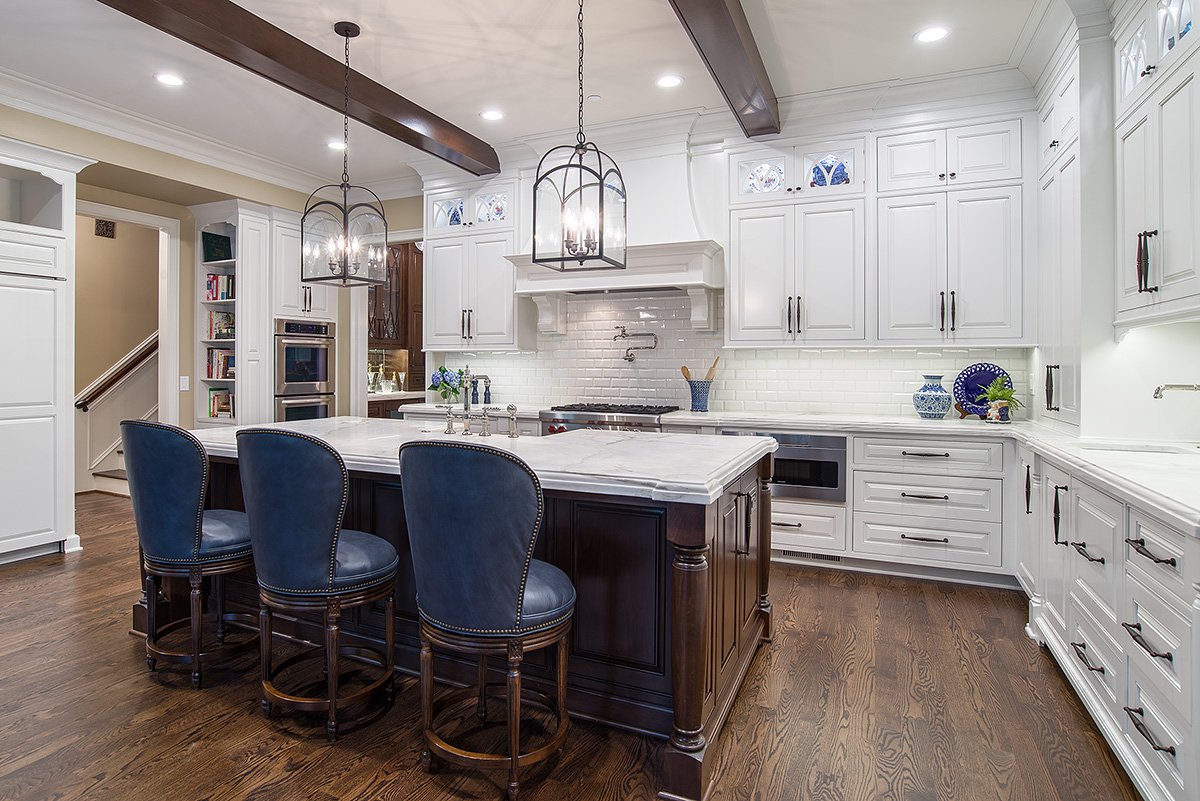
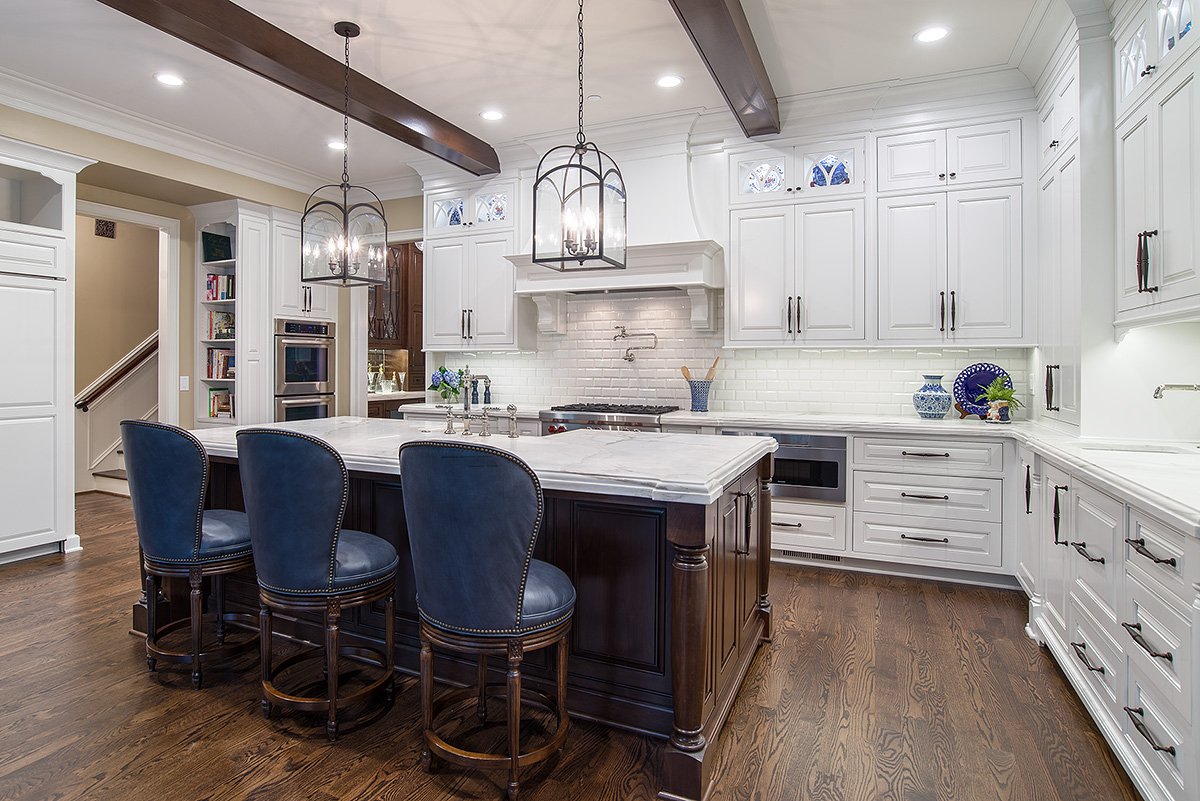
And then I got to do the edit two more times, from different angles =) This is one of them.
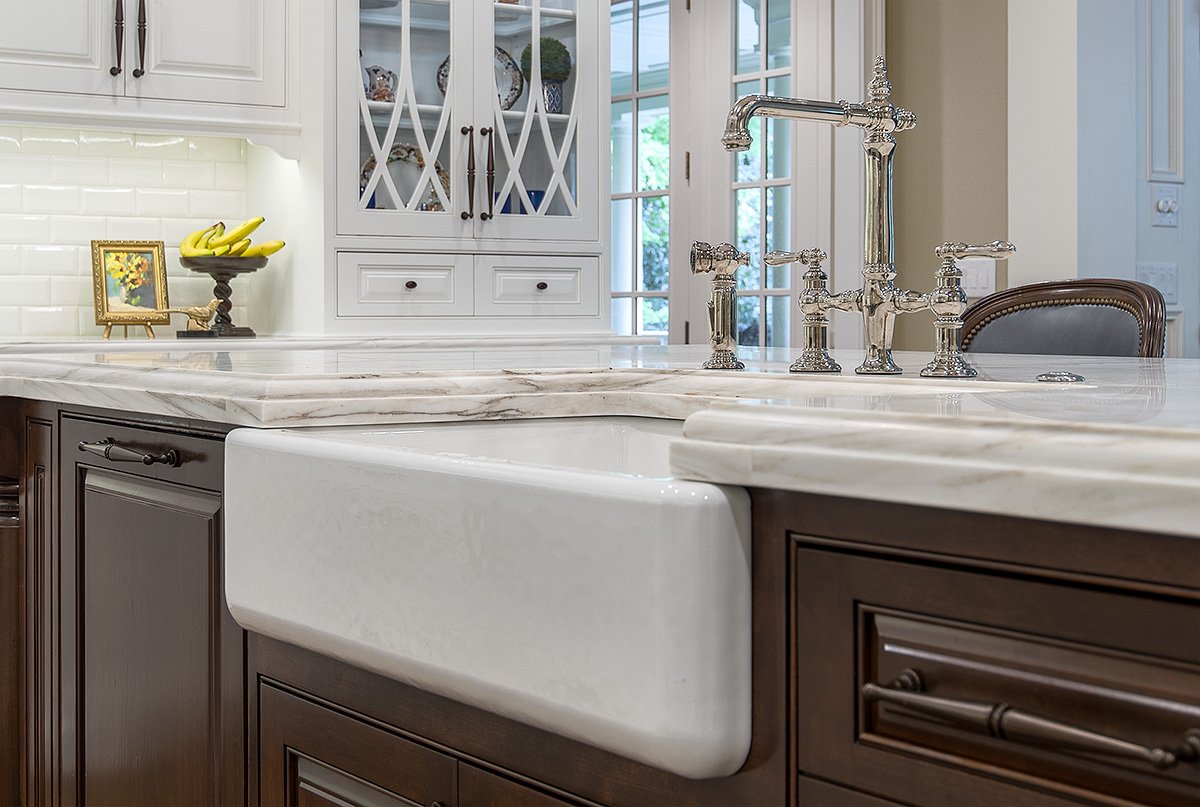
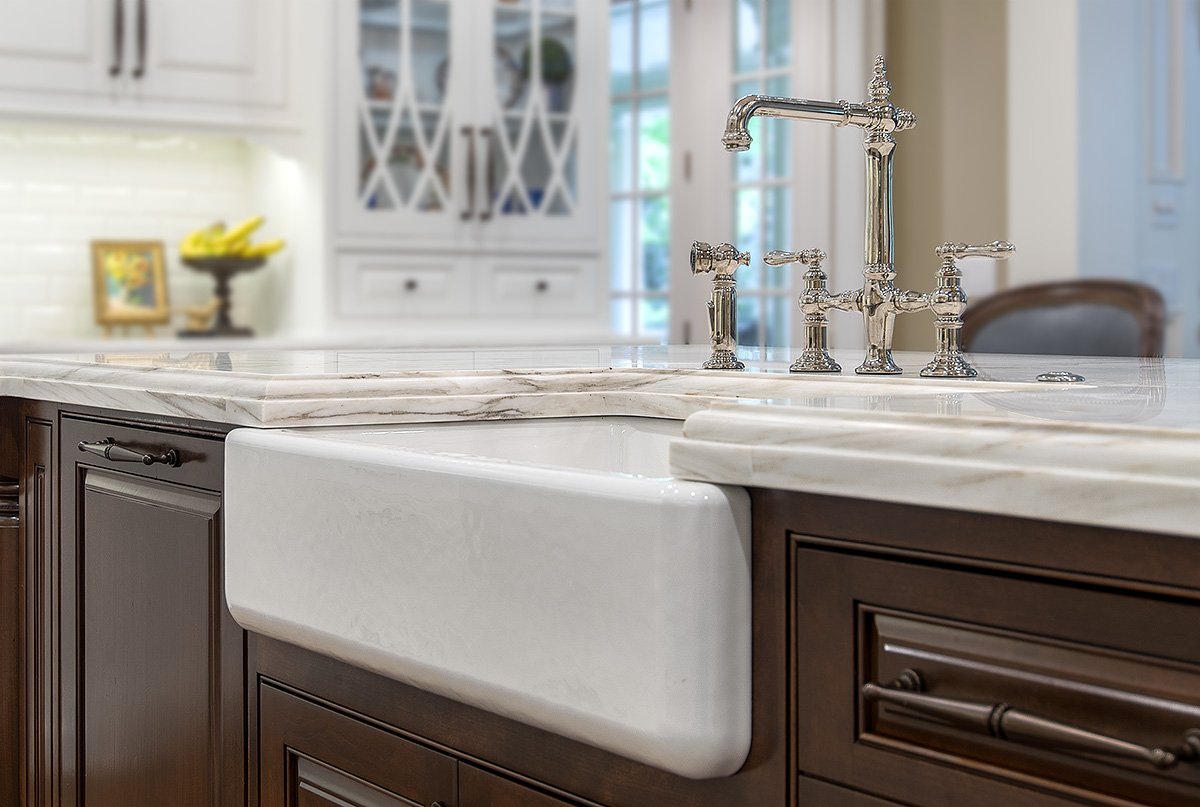
One more photo from the kitchen above. I blurred the background of this close-up shot to draw attention to the foreground.
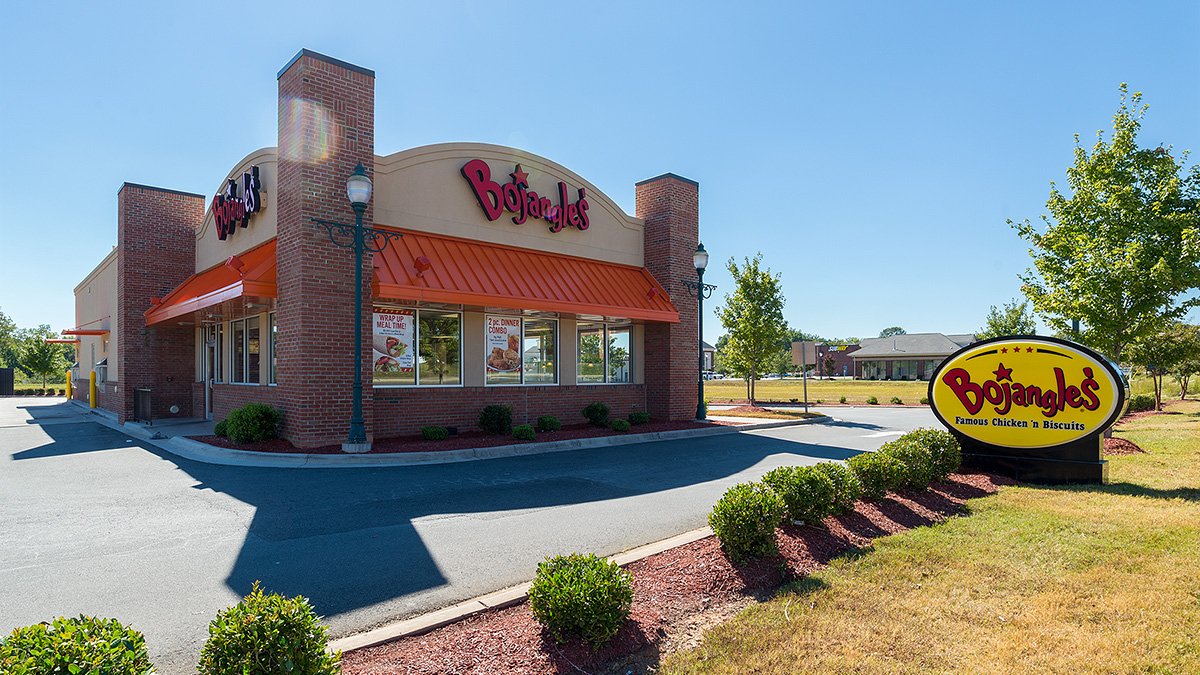
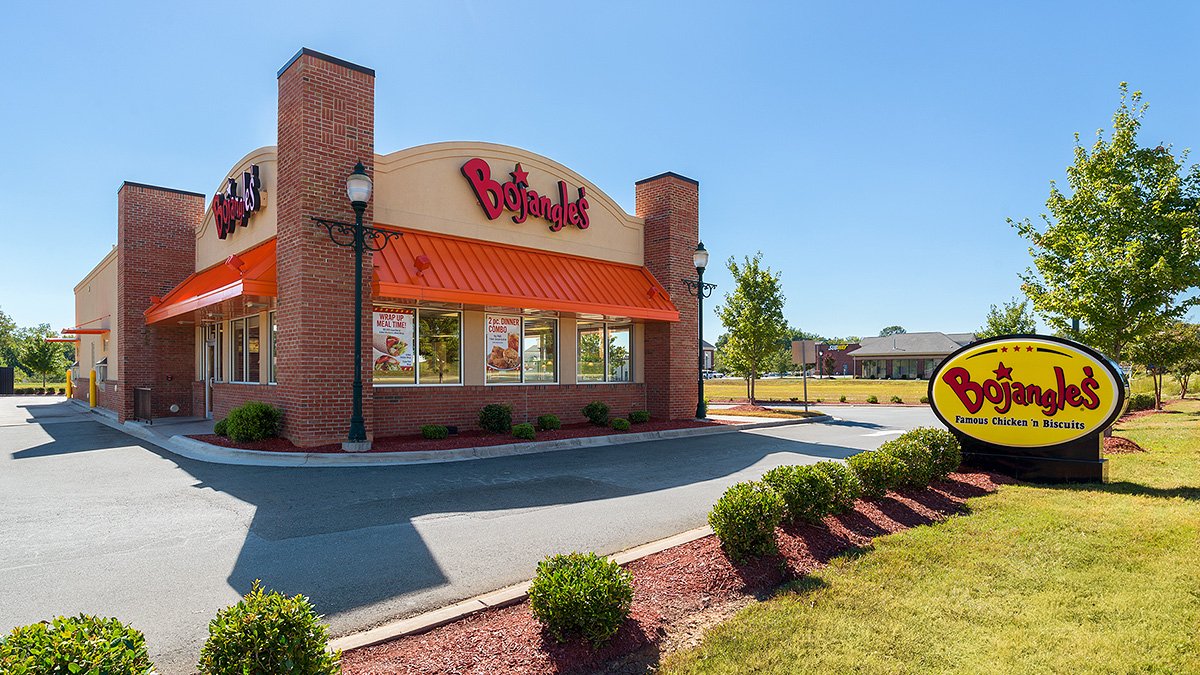
I didn’t always have the luxury of being able to to photograph properties when the sun was in an ideal location. And sometimes buildings faced north and I just had to try to find an angle that would work. For this image I adjusted the exposure and color of the shadow and shaded face of the building, removed the unpleasant sun flare and perked up the color of the grass.
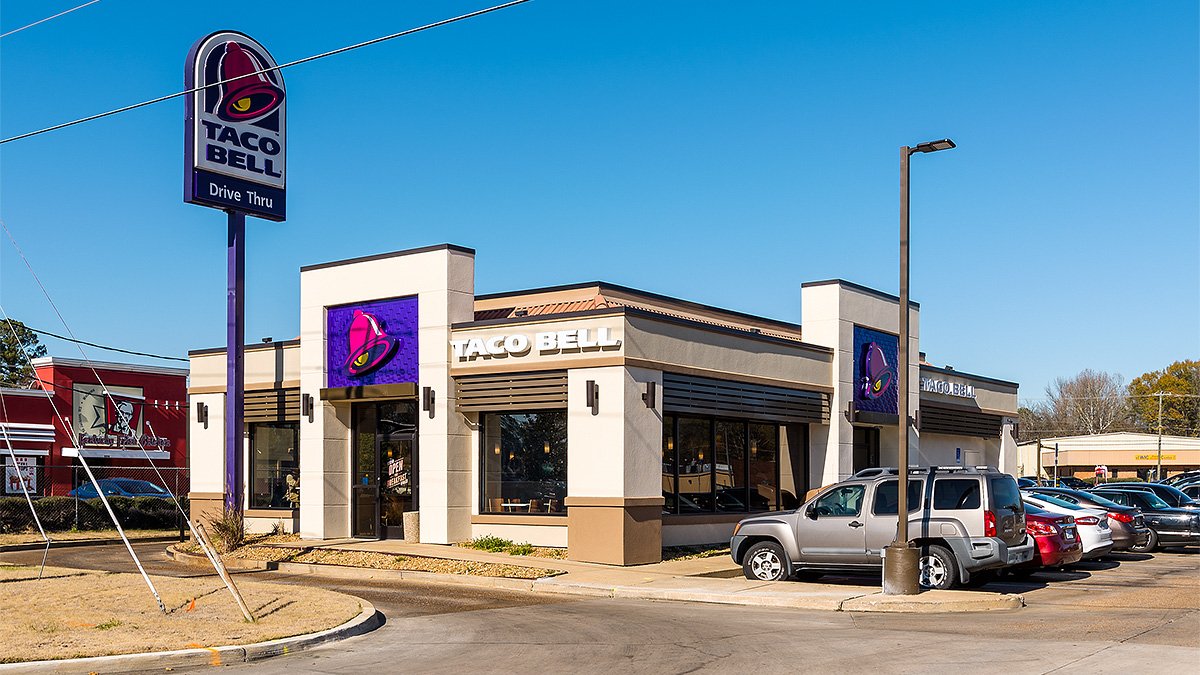
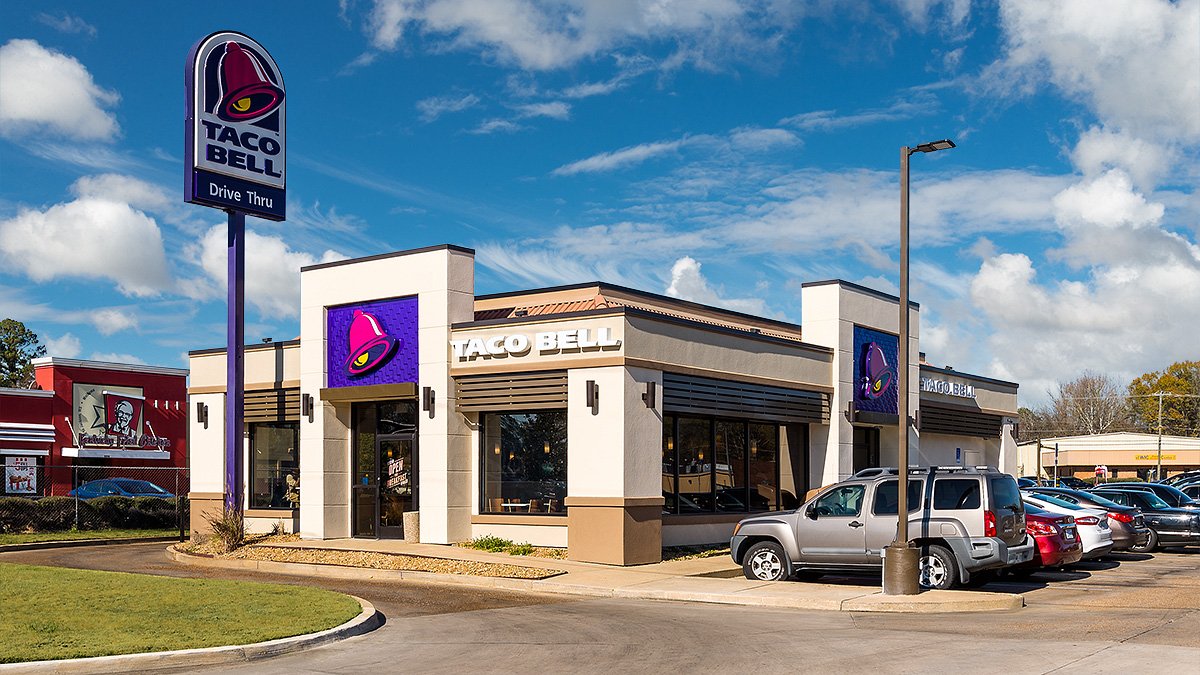
Utility poles and guy wires were one of my constant nemeses. After removing those distractions I replaced some of the KFC signage with sections cut from another photograph that I took, made the grass look green, removed some weeds, subtly evened out the discoloration in the drive-through lane and replaced the plain, blue sky with a more dramatic one.
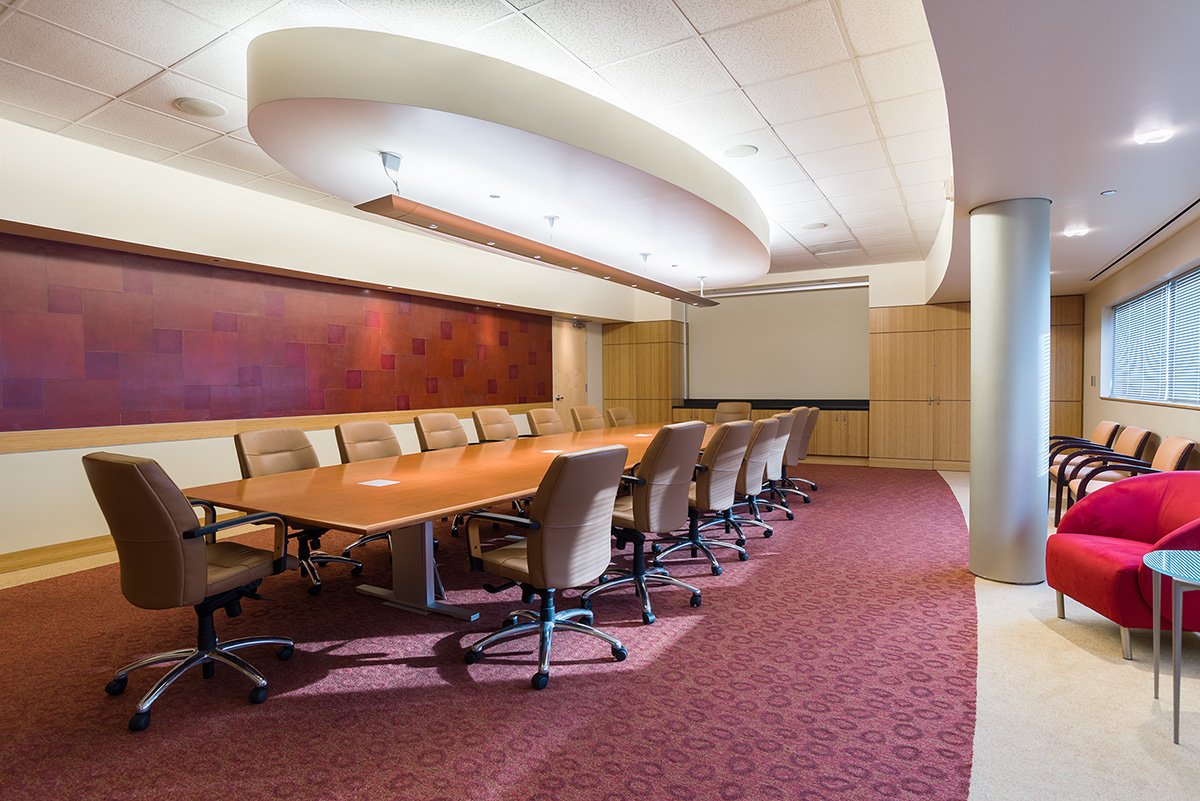
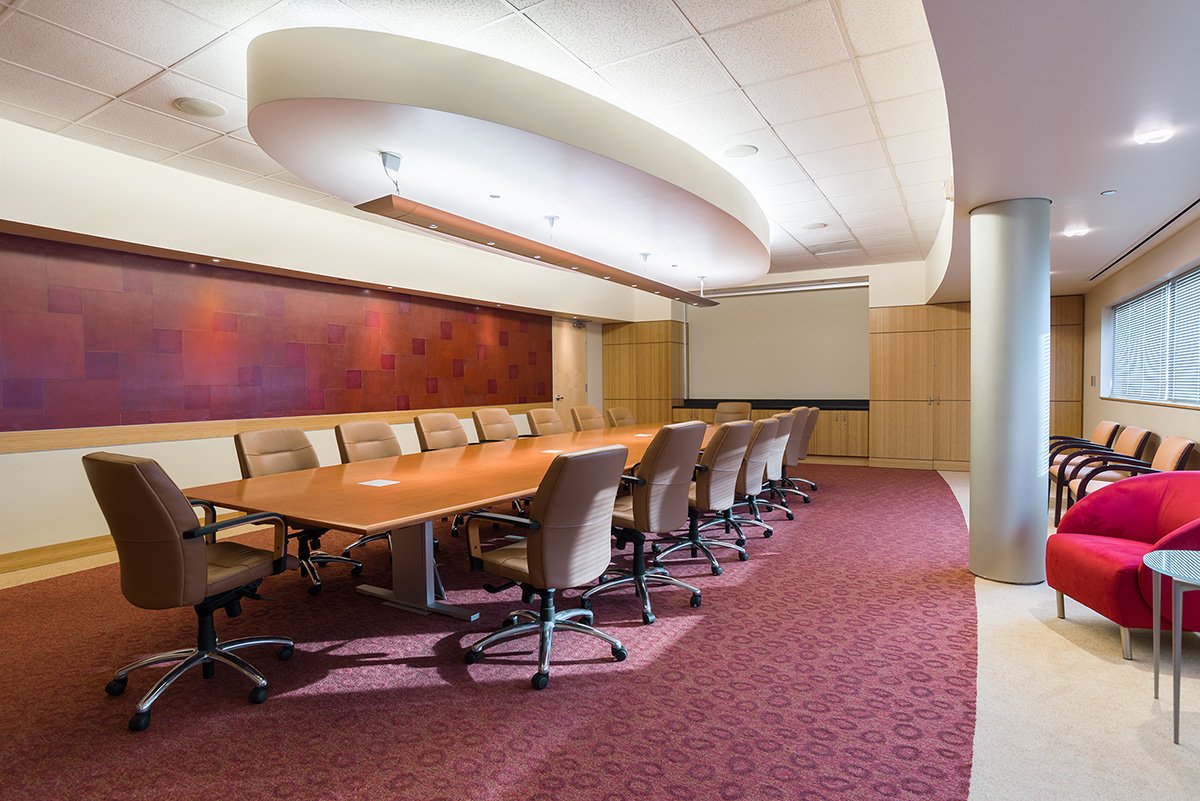
Being able to digitally correct a light that isn’t working really can help balance a finished photo.
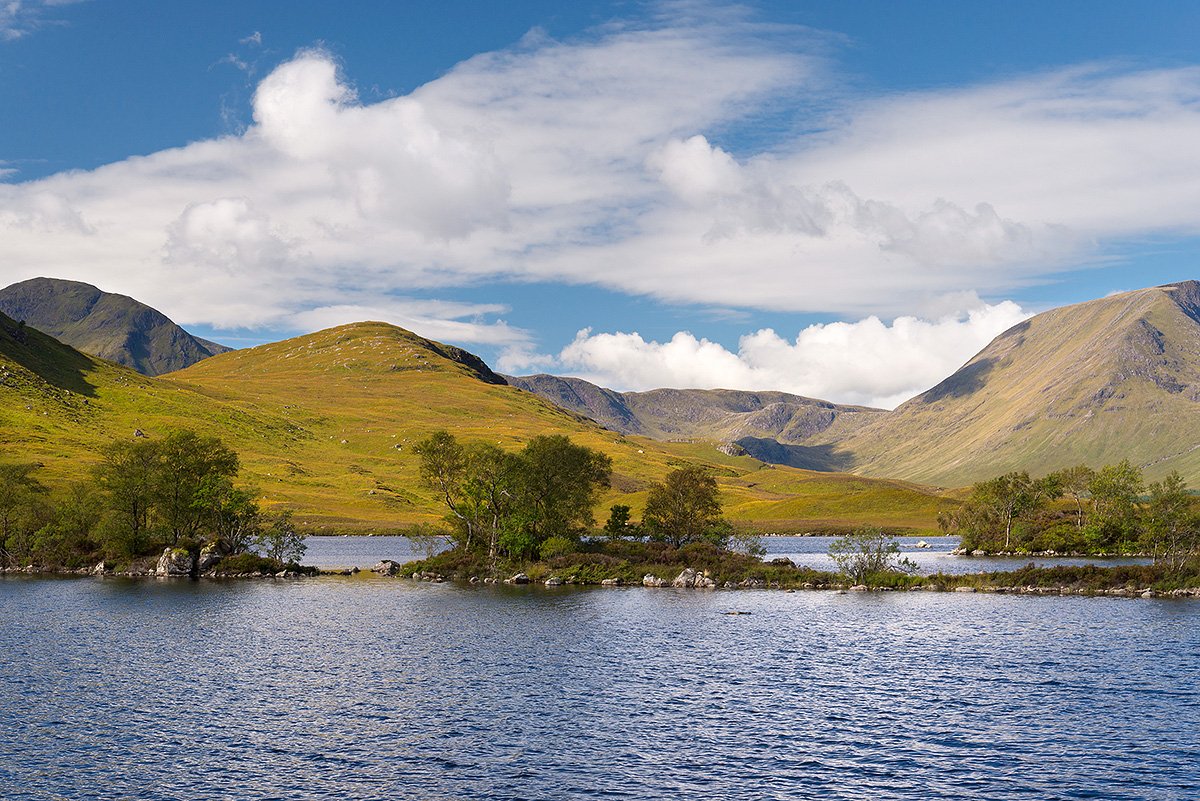
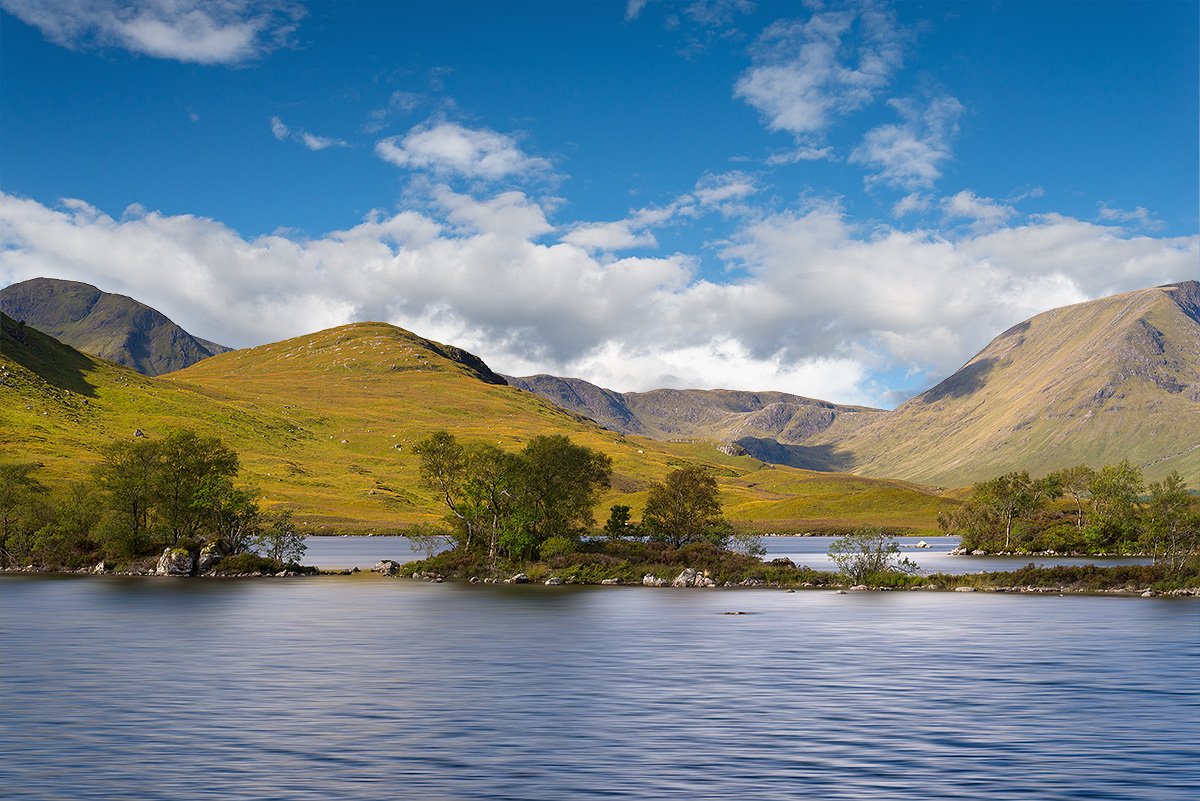
It was a windy day when I visited Rannoch Moor at the entrance to the Scottish Highlands (it’s always a windy day in Scotland). The wind made the water choppy and I didn’t like the straight line running through the clouds on the left. I replaced the original sky with a sky from a little later that day and applied a motion blur to the water, careful to leave the rocky shoreline looking sharp.
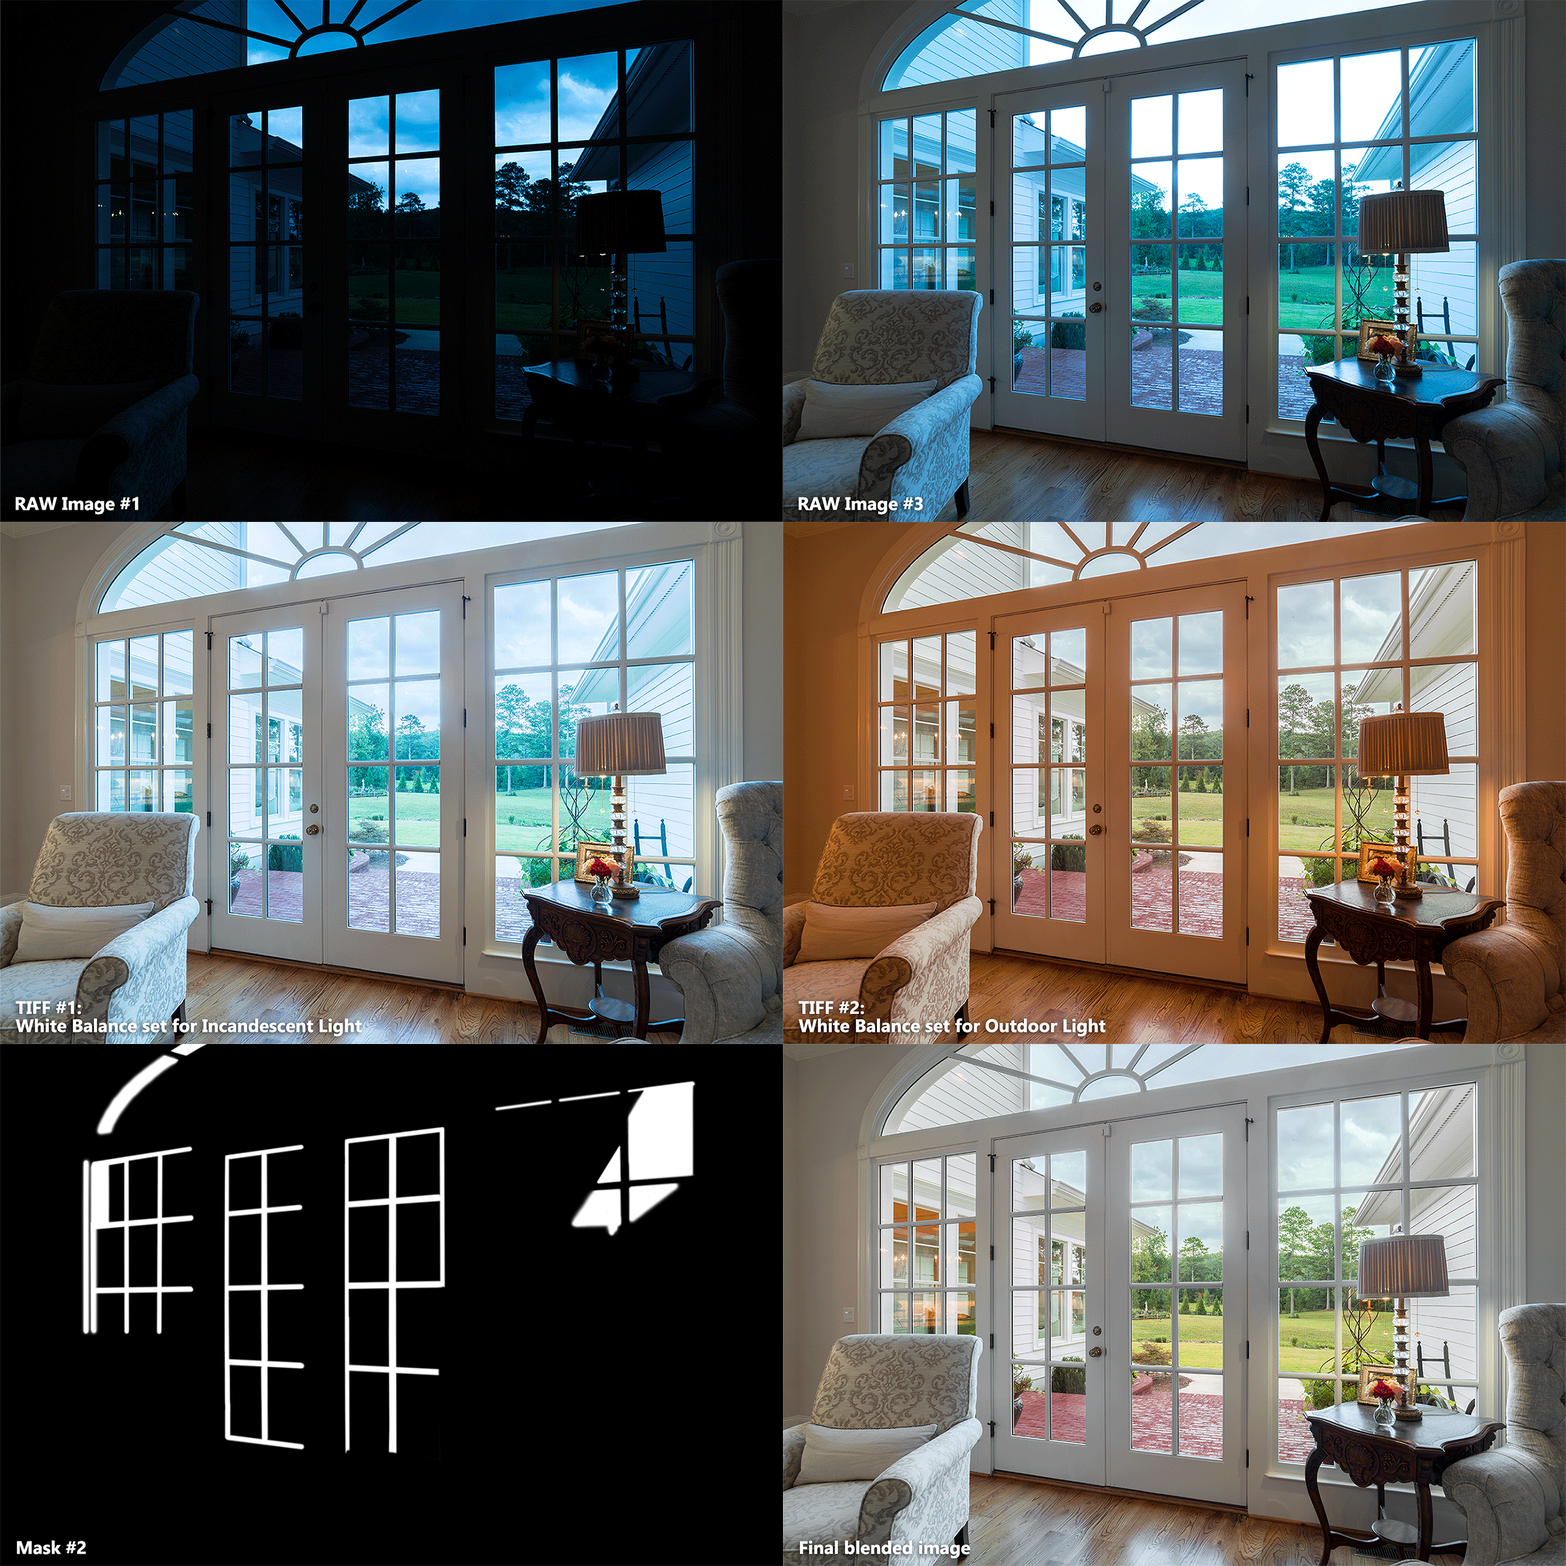
This shot required four RAW images to cover the full range of light. I merged those RAW images into one TIFF file and then made two versions of that TIFF. In the first version I set the white balance for incandescent light (mostly), and I set the white balance of the second image for outdoor light. I masked those images together to create the final image.
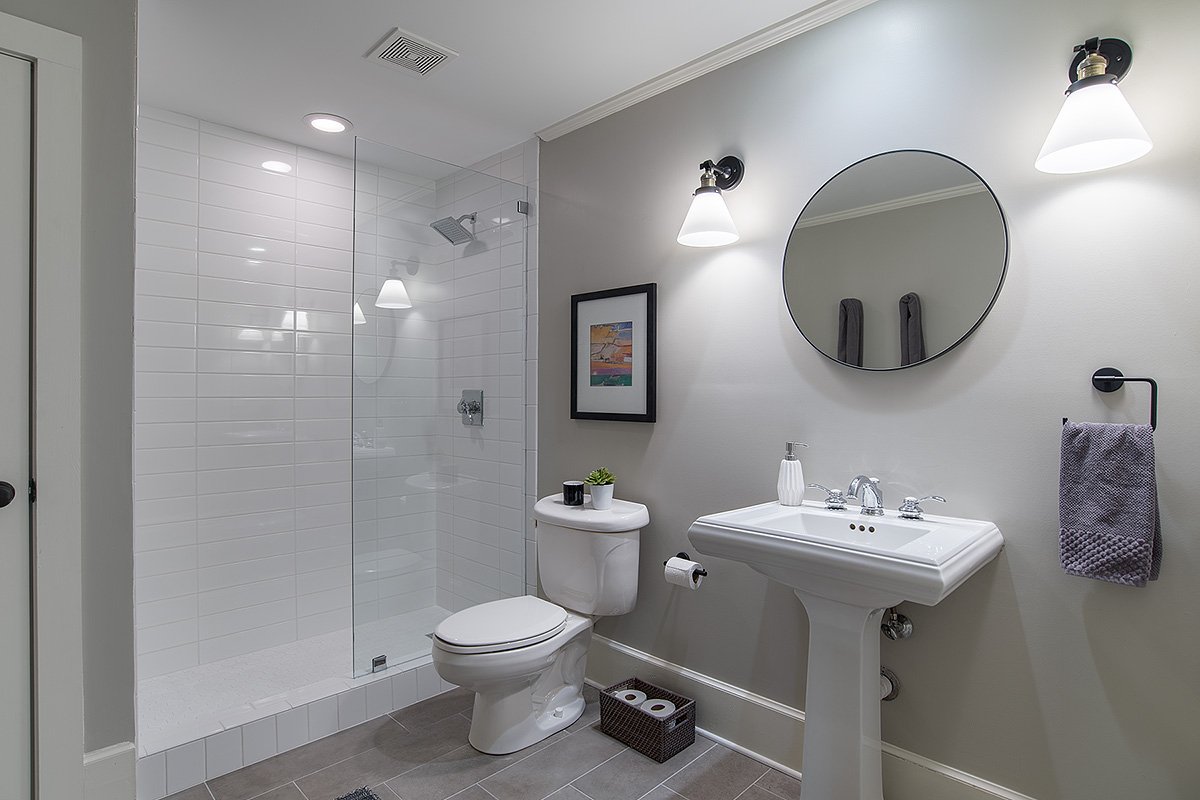
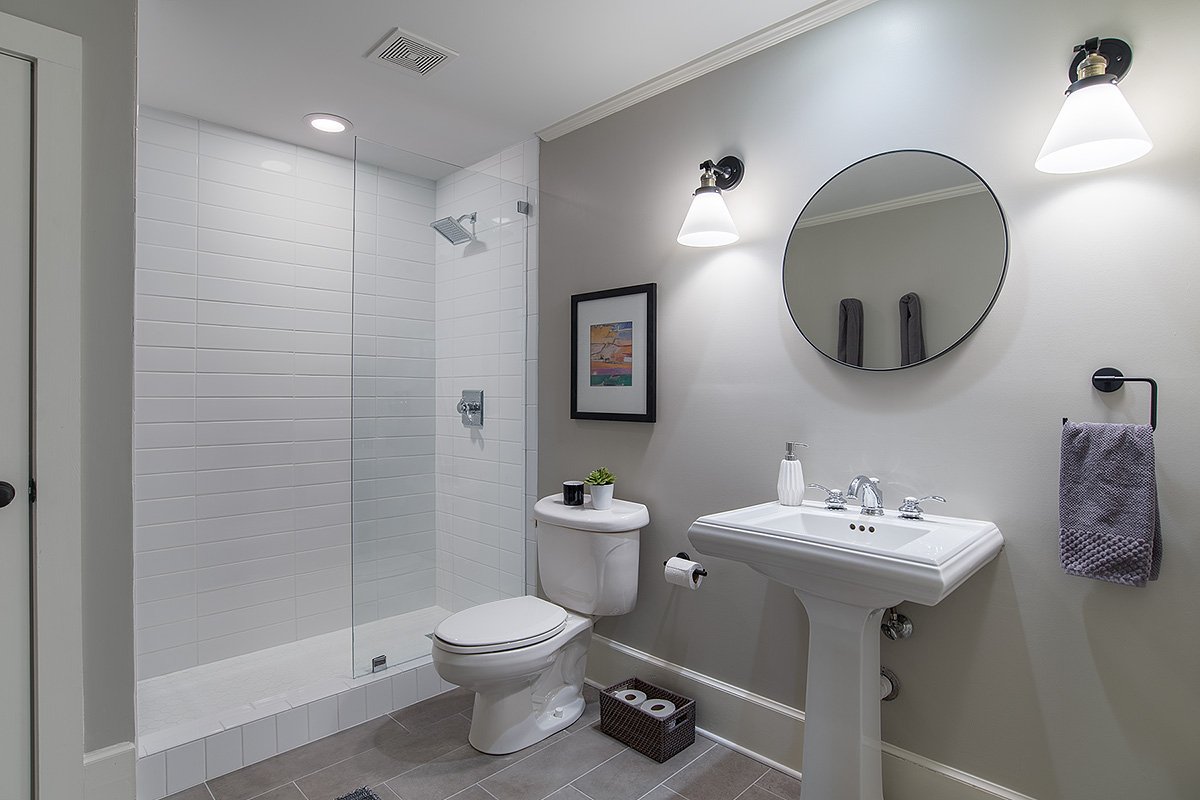
I photographed this bathroom twice – once with all of the lights on and once with just the light on in the shower stall. I opened the photos as layers in Photoshop and carefully masked the two images together to almost completely avoid having reflections in the glass.
DIGITAL MOCKUP FOR ETSY
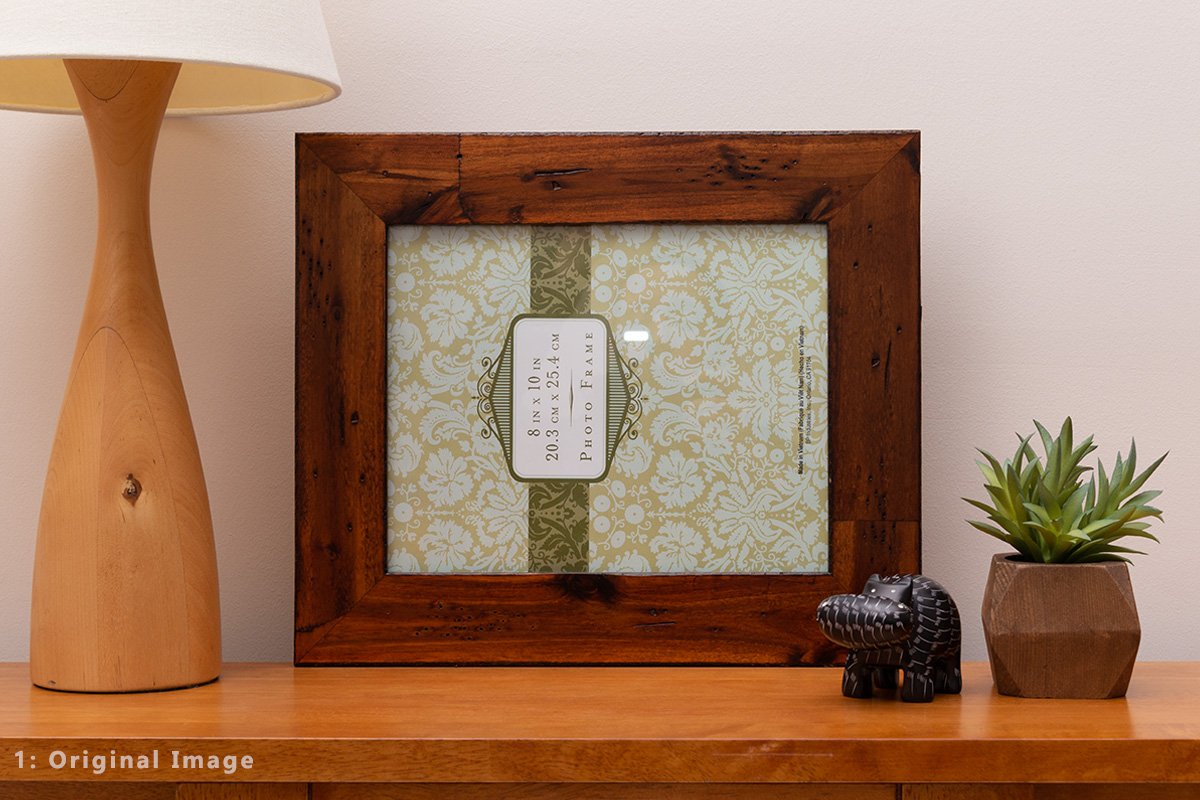
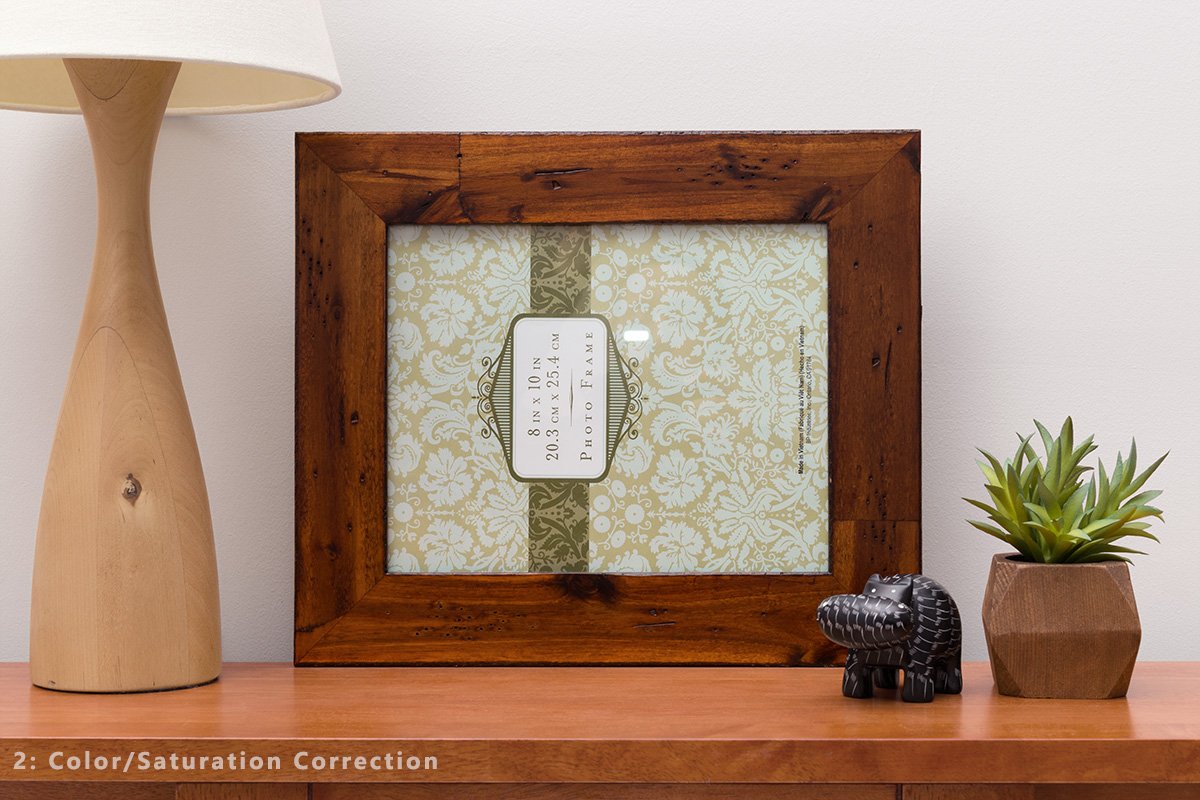
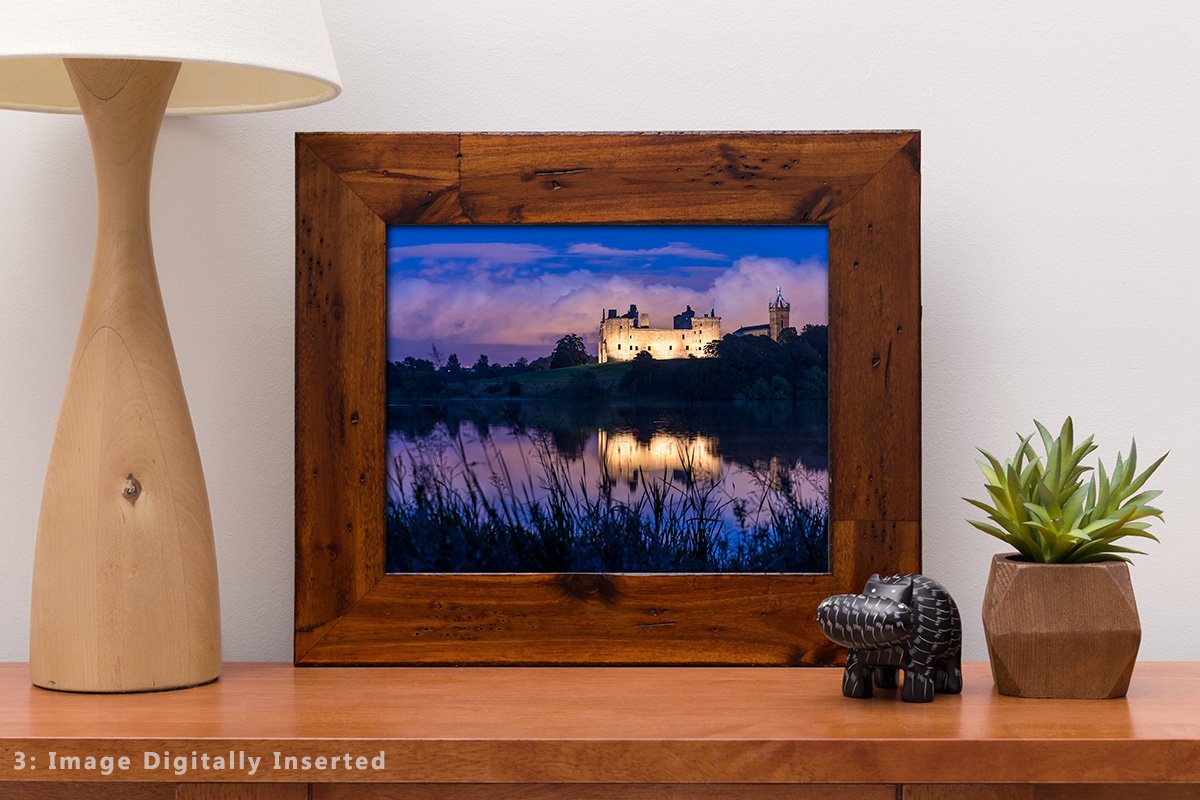
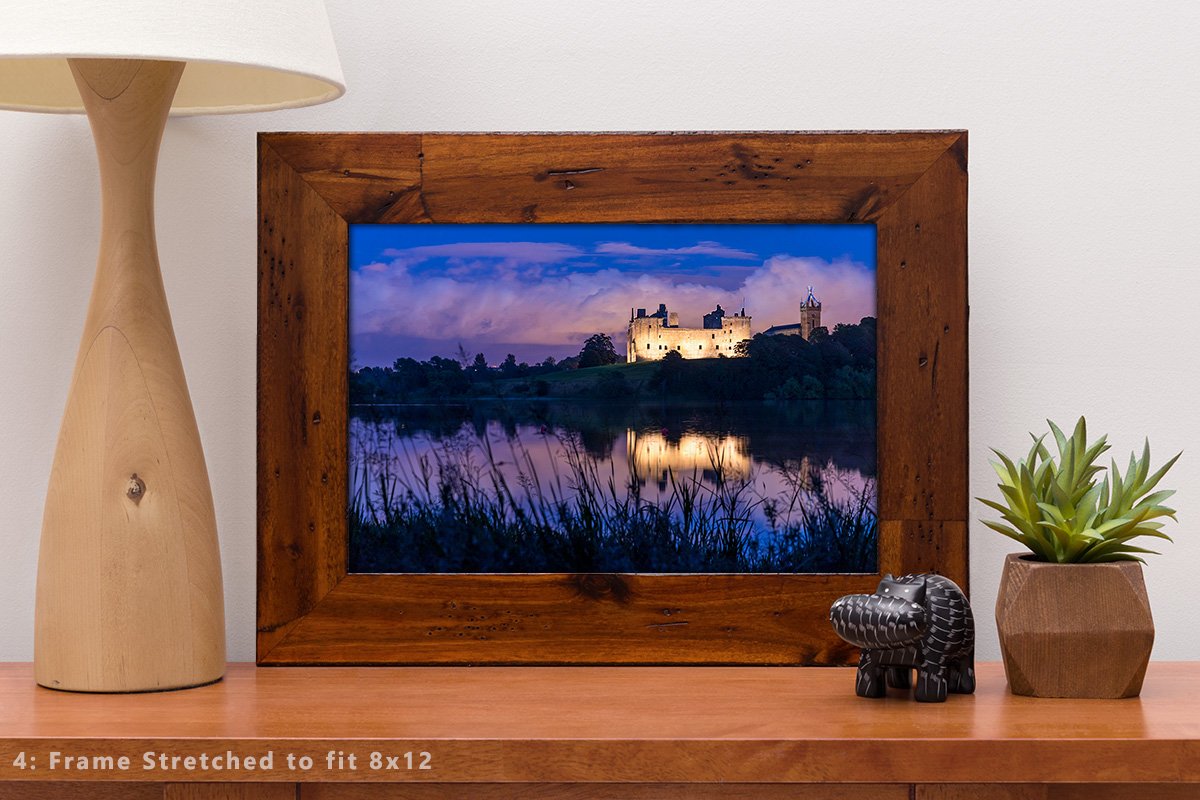
When I was selling prints on Etsy I needed some mockups so I could show people what an image might look like inside a frame. (1) I photographed an empty frame along with a lamp and a couple of decorative items. (2) I color-corrected the image. (3) I digitally inserted an 8″x10″ image in the 8″x10″ frame and created a shadow around the edges of the image to give it some depth. (4) Then I “stretched” the frame so I could place an 8″x12″ image inside, which matches the original aspect ratio of my photographs.
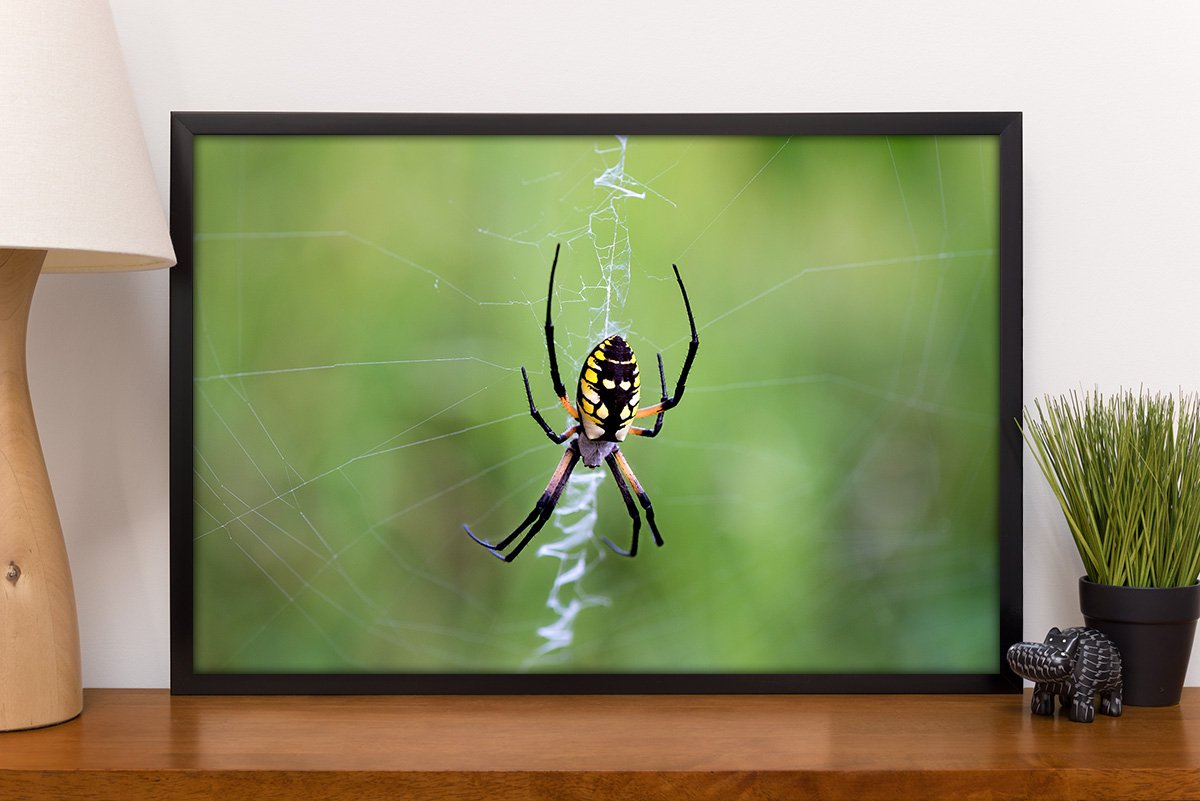
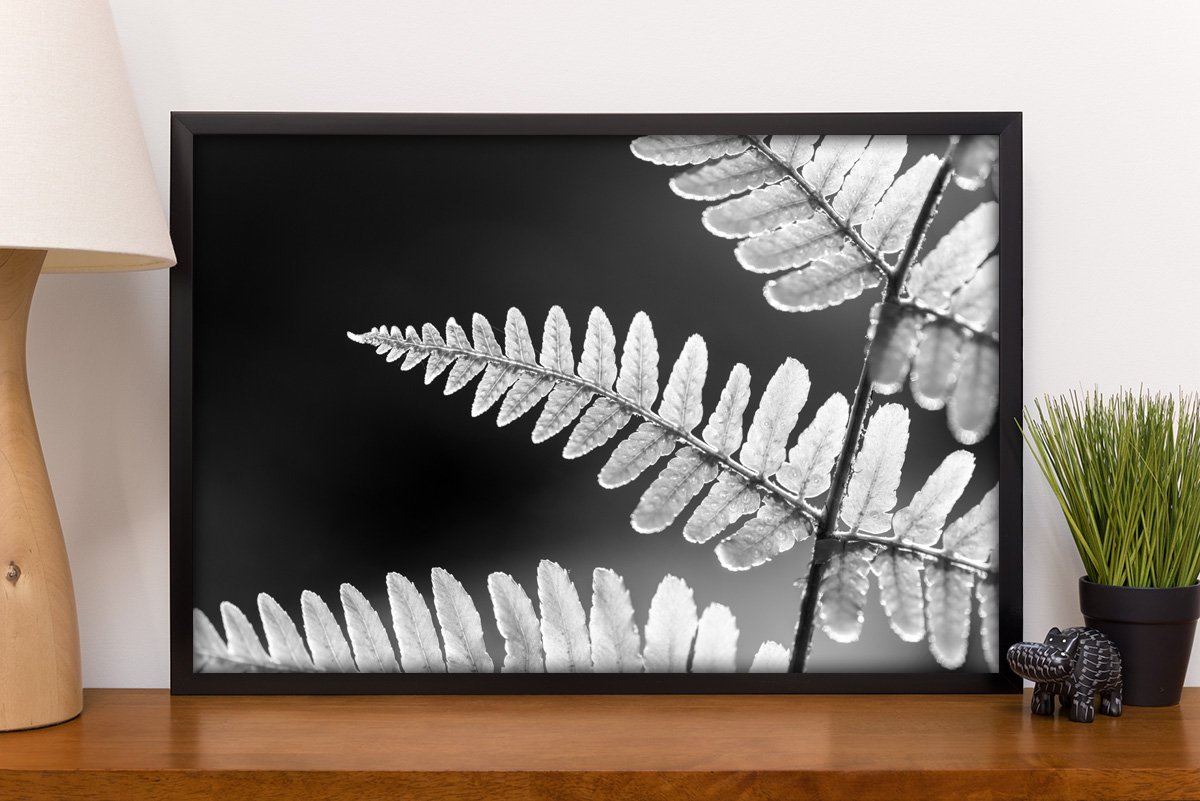
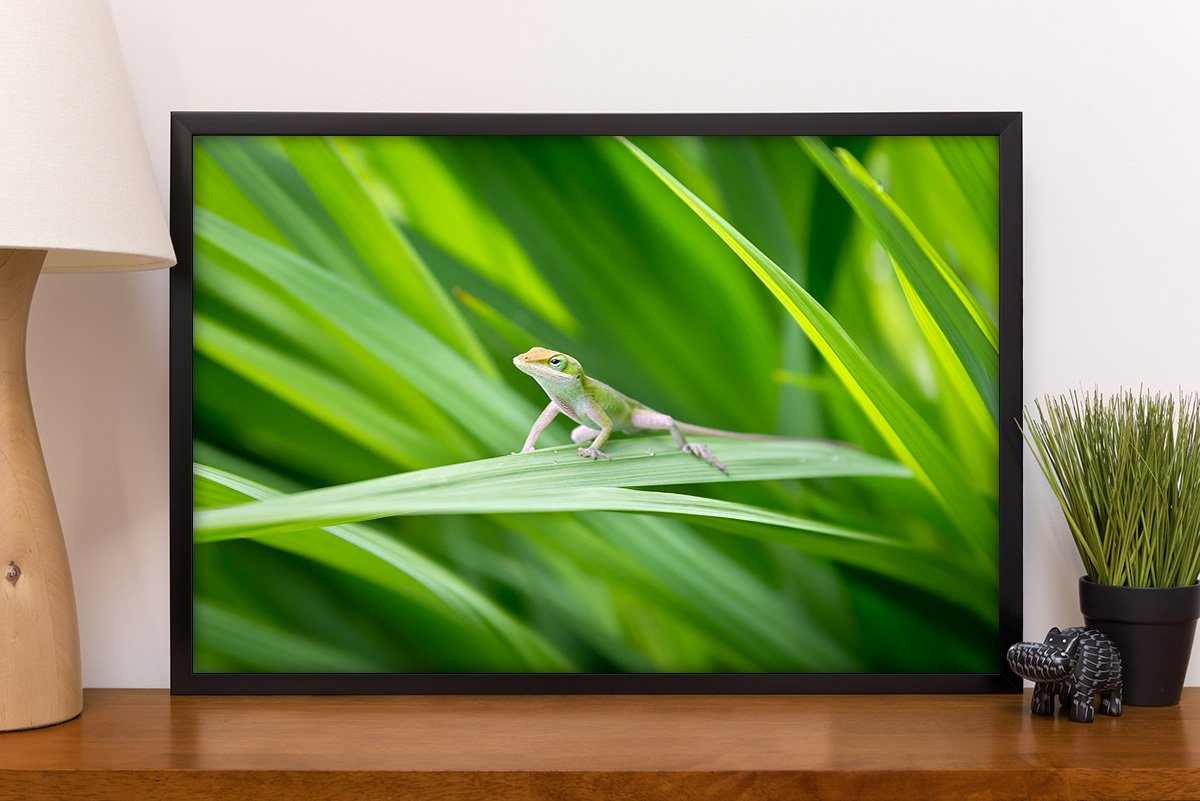
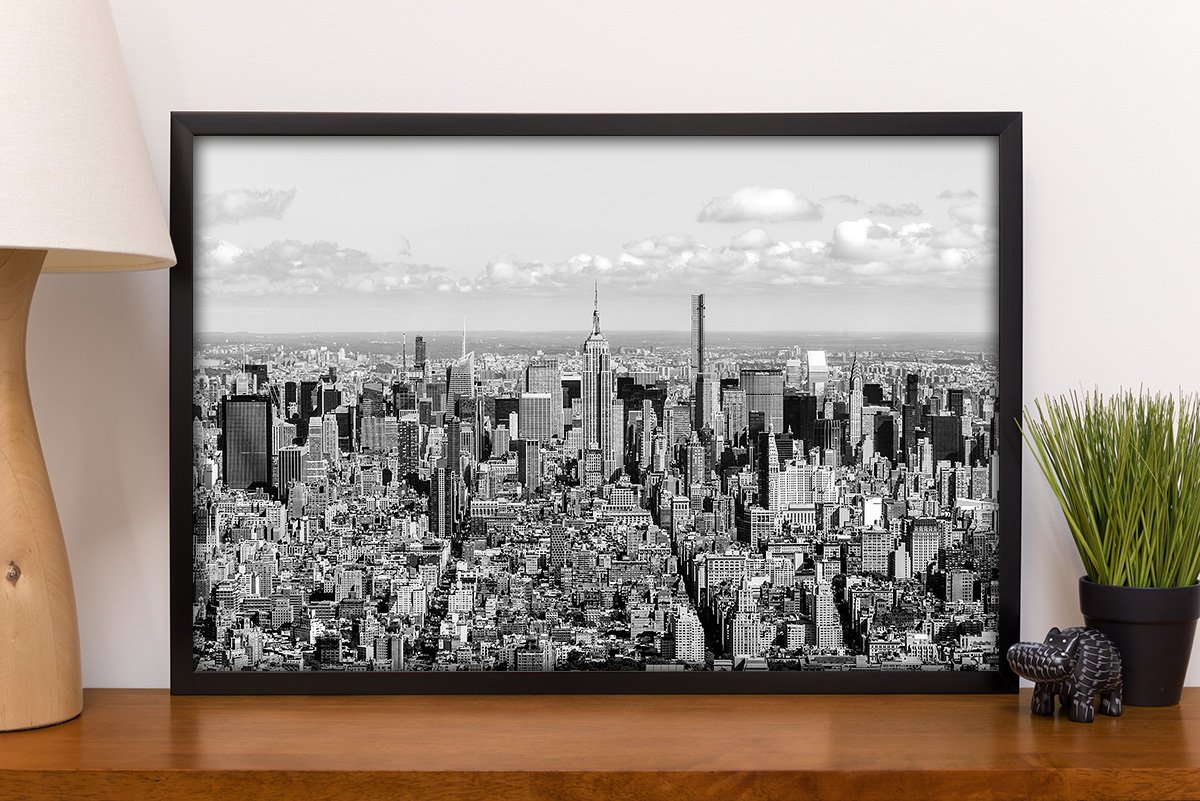
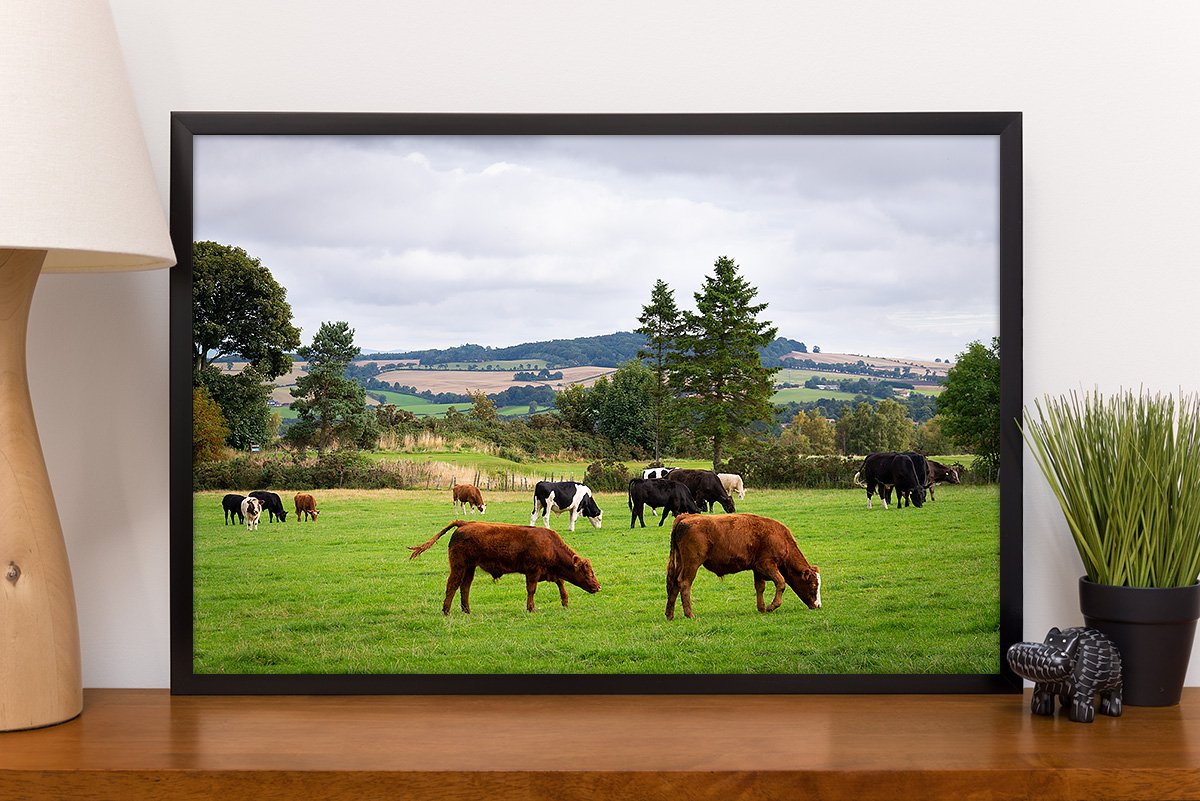
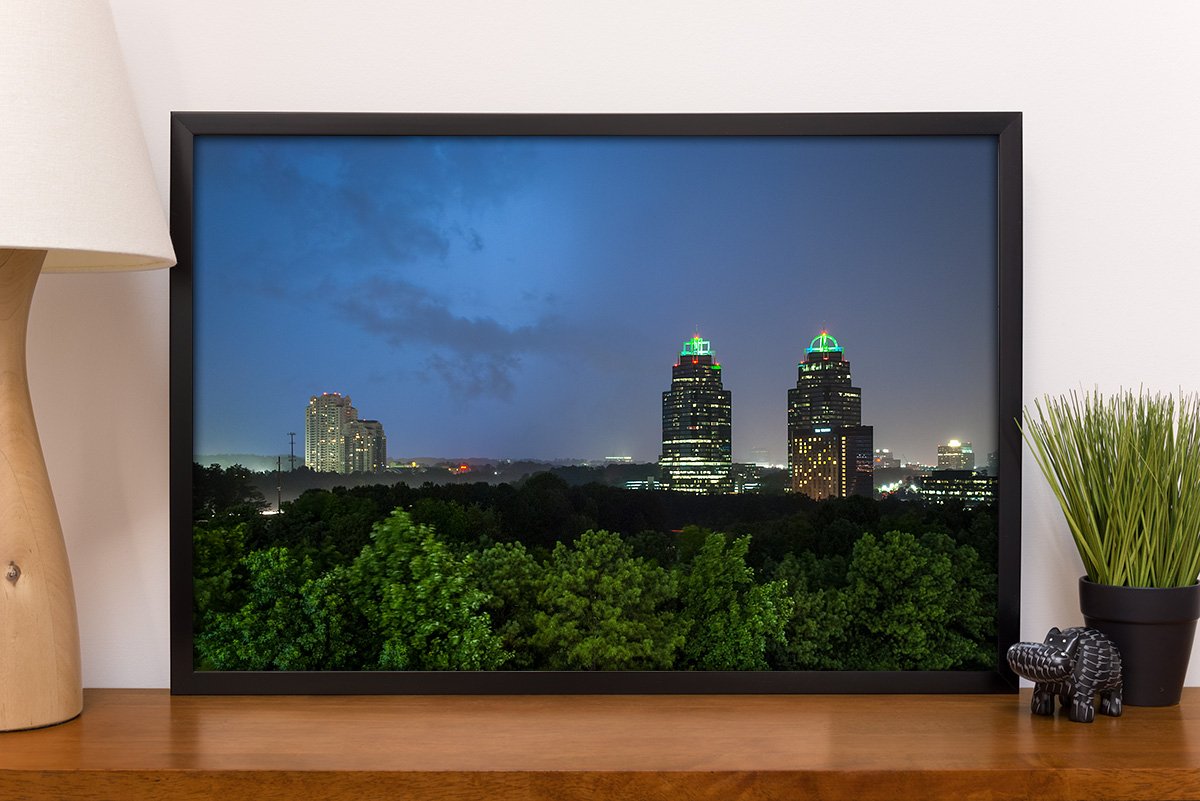
Some 16″x24″ mockups. No frame stretching required here since the frame was the correct size to begin with.
Photos from this page plus a few sky replacements and some photo restoration examples. Royalty-free music from www.bensound.com.

