To view these edits as before & after GIFs please visit my Behance profile. To see them in video format scroll to the bottom of this page.
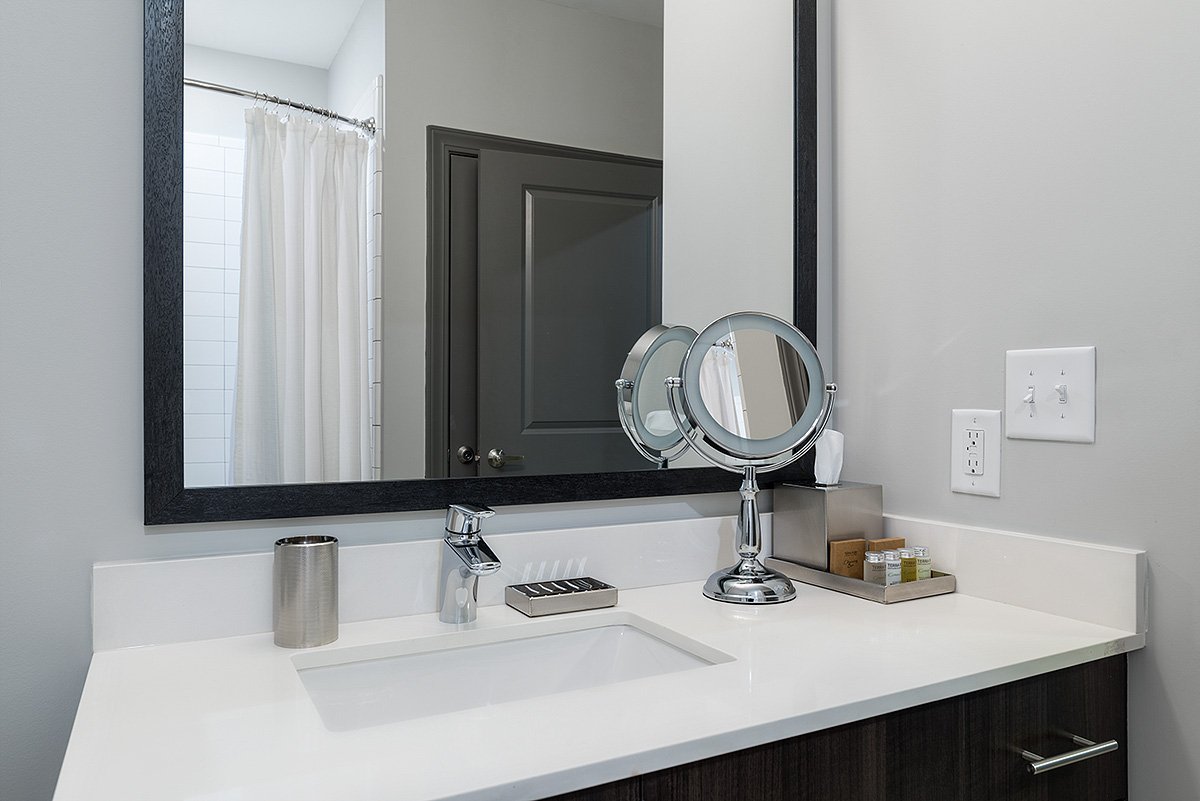
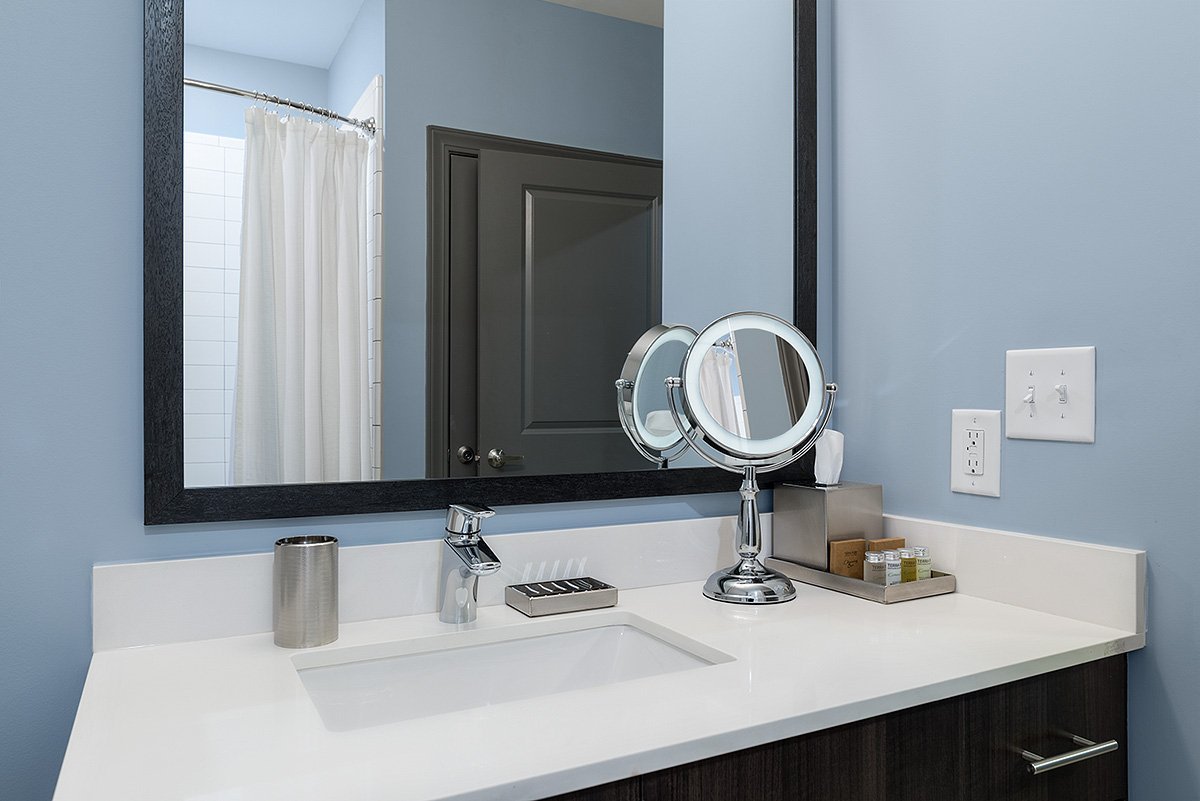
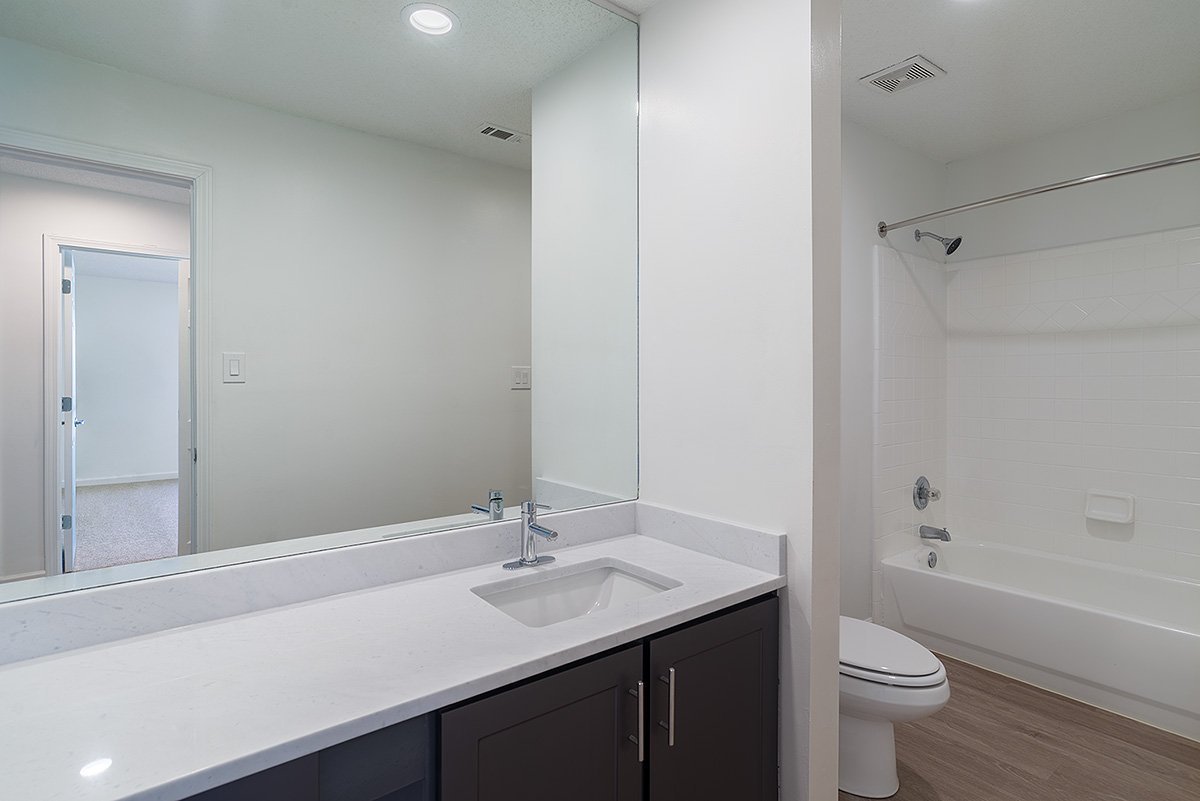
I changed the wall color after submitting the image (with grey walls) to the client. Once the mask is created in Photoshop you can keep changing the wall color to try out different looks. I also “turned on” the light around the magnifying mirror.
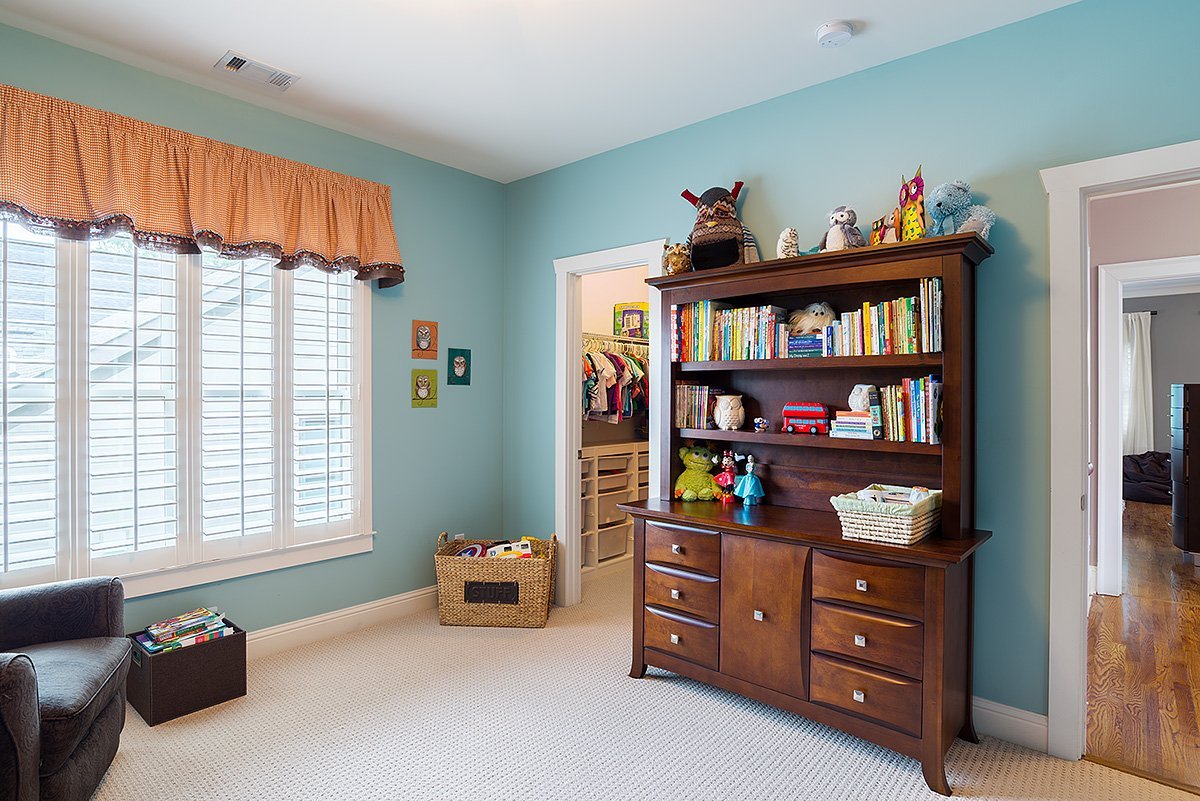
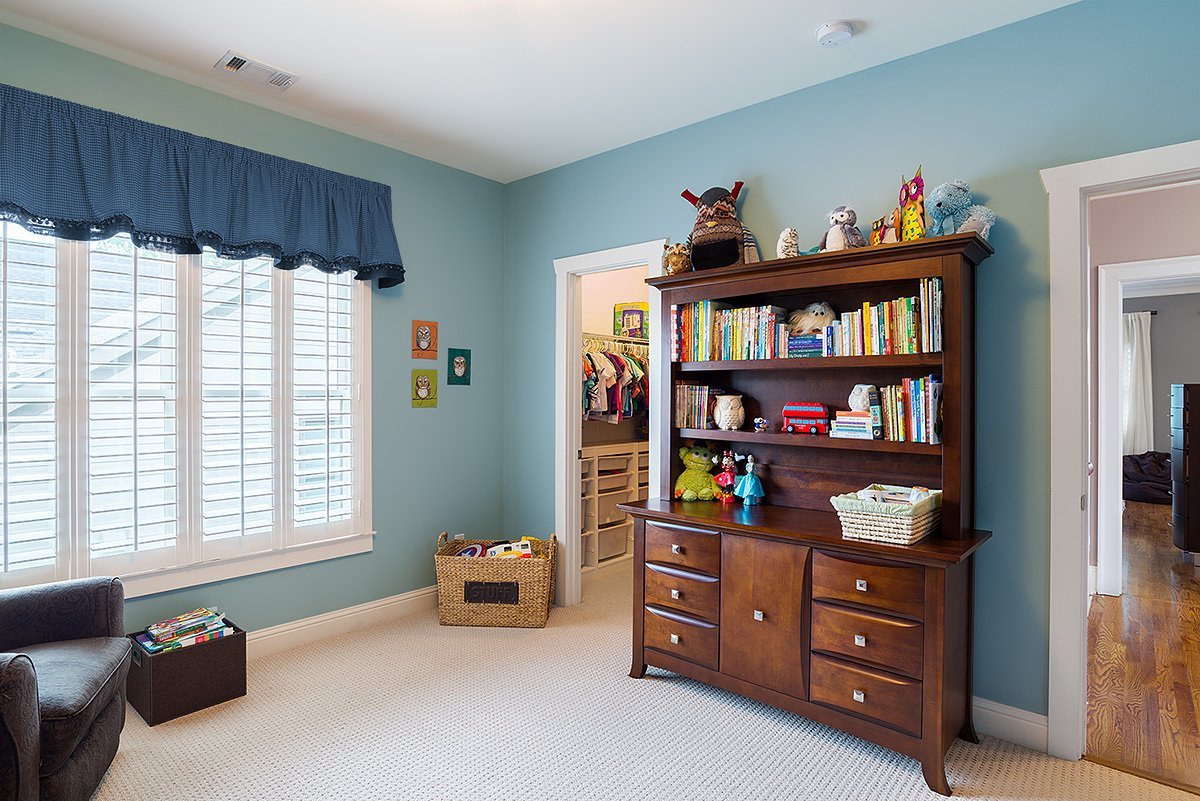
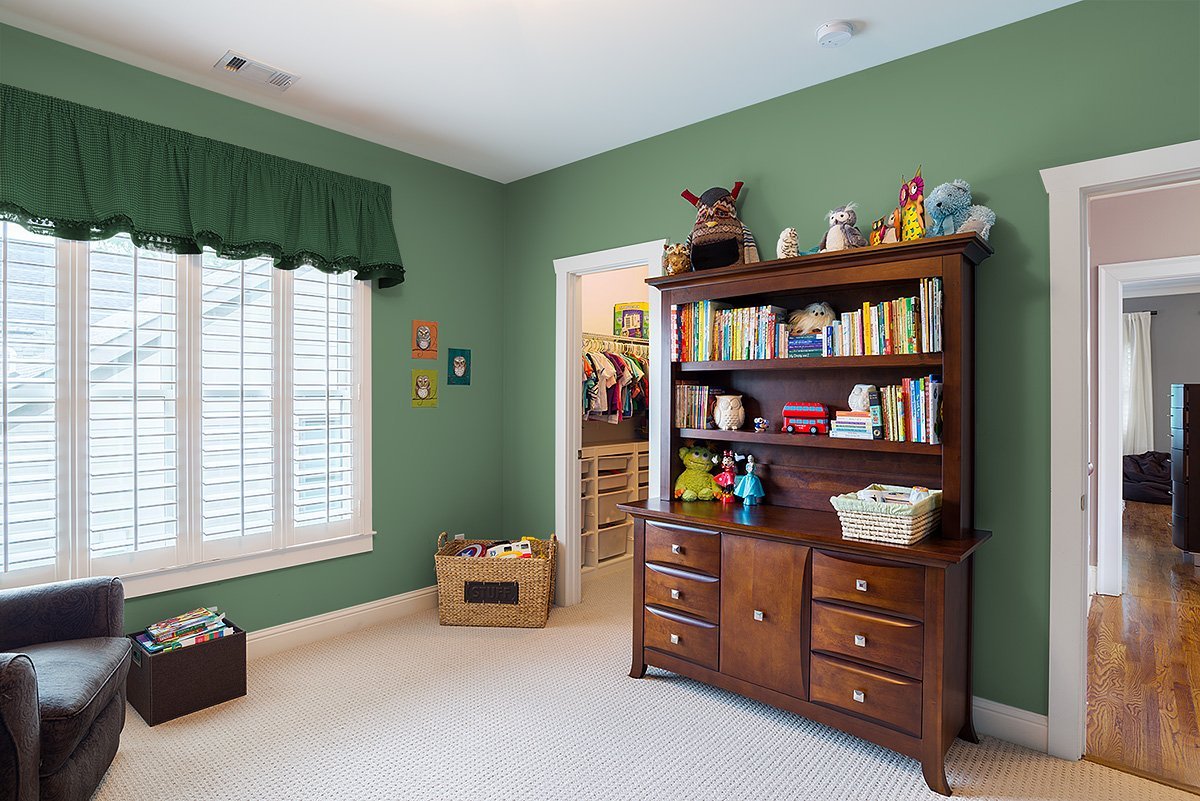
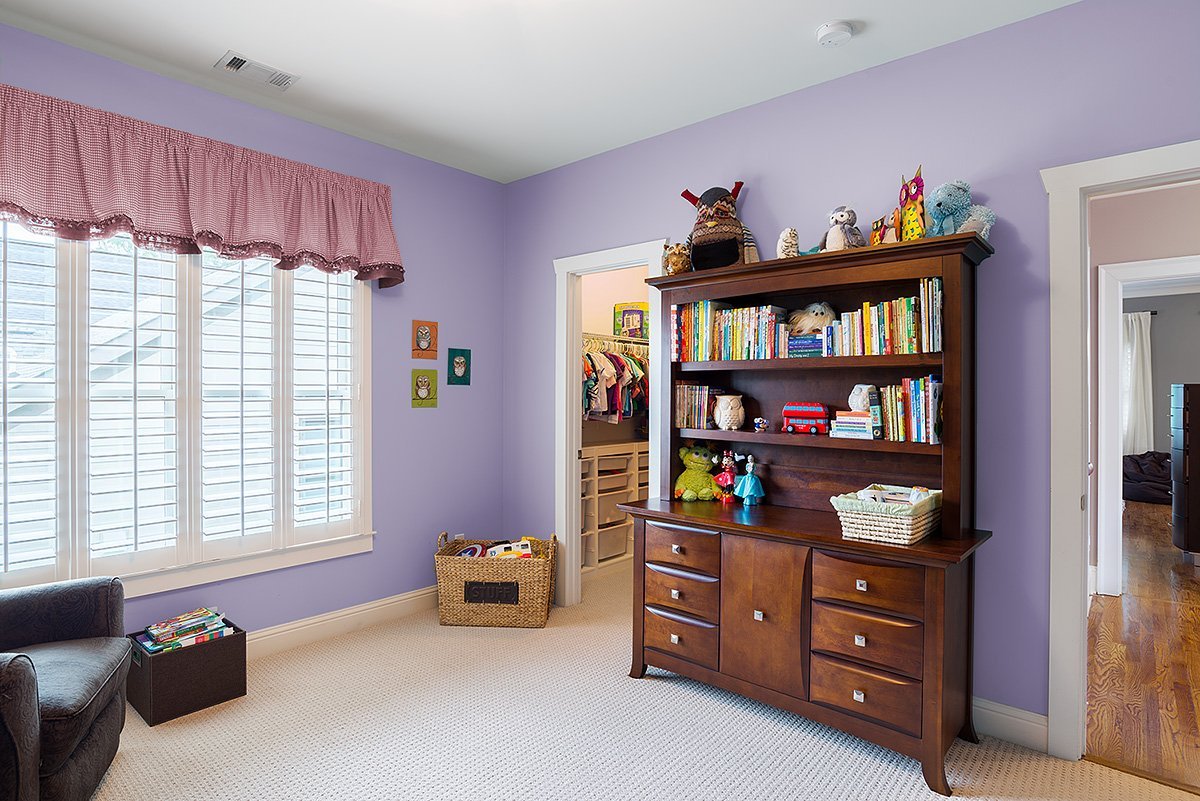
The top left photo is the original photo. I wanted to be able to use the photo in my portfolio but wasn’t crazy about the color scheme. I tried out some different color combinations.
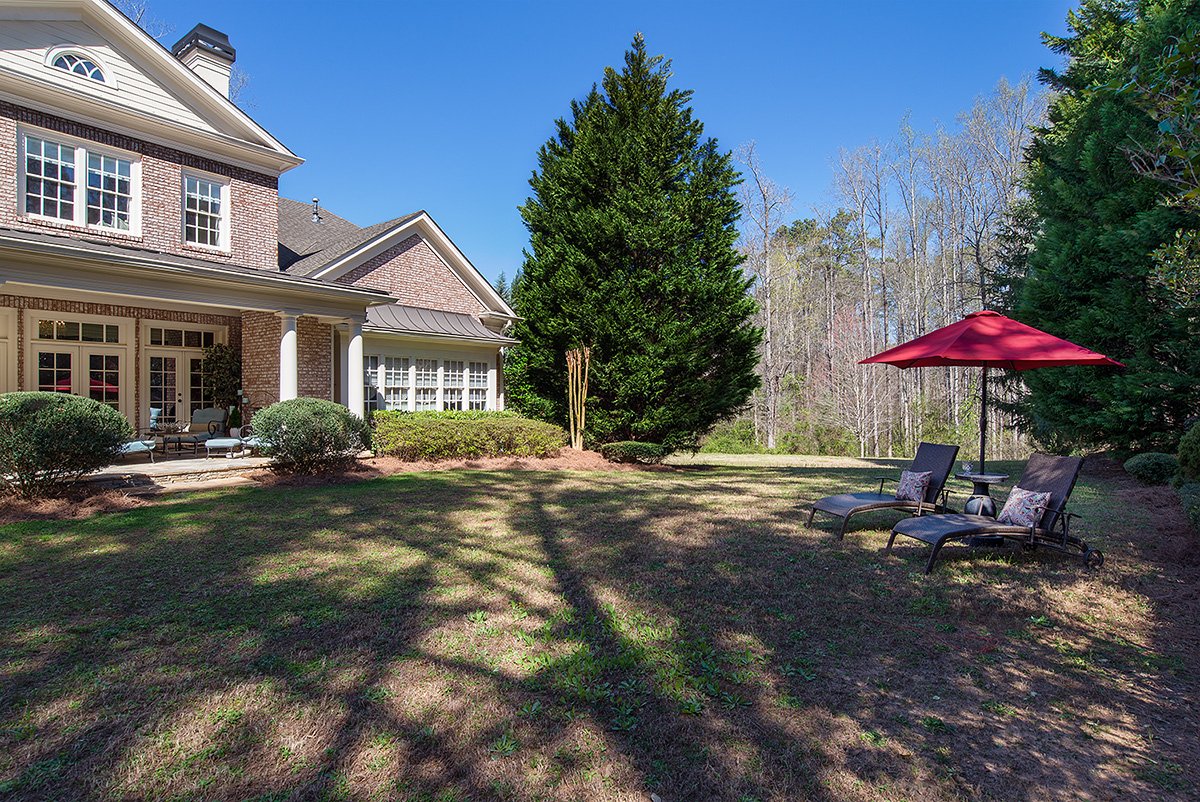
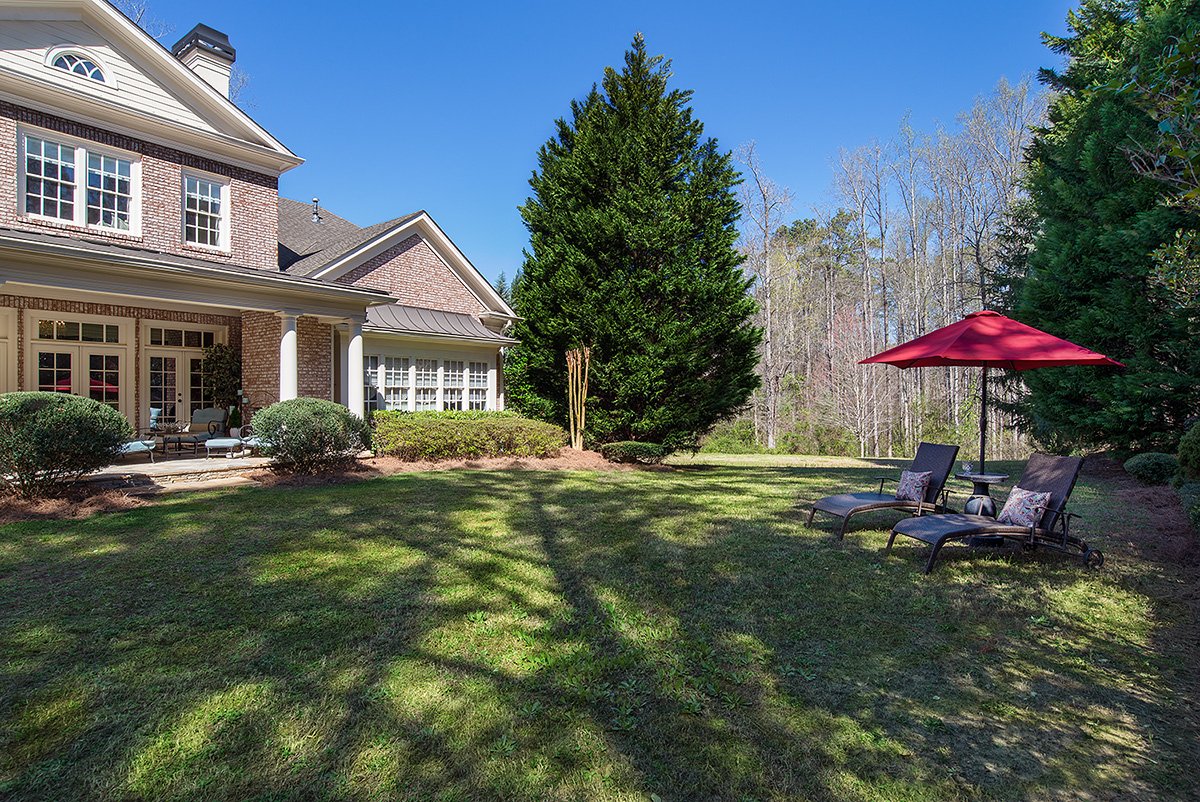
The client requested greener grass.
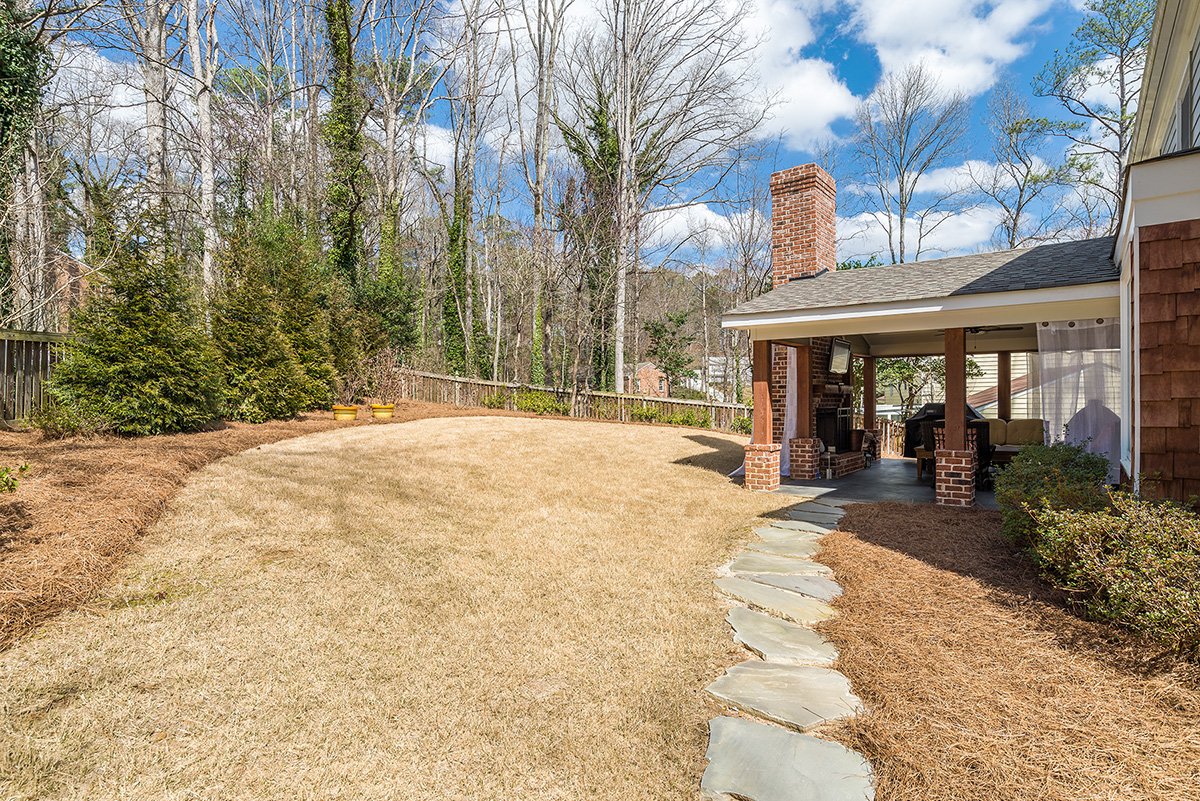
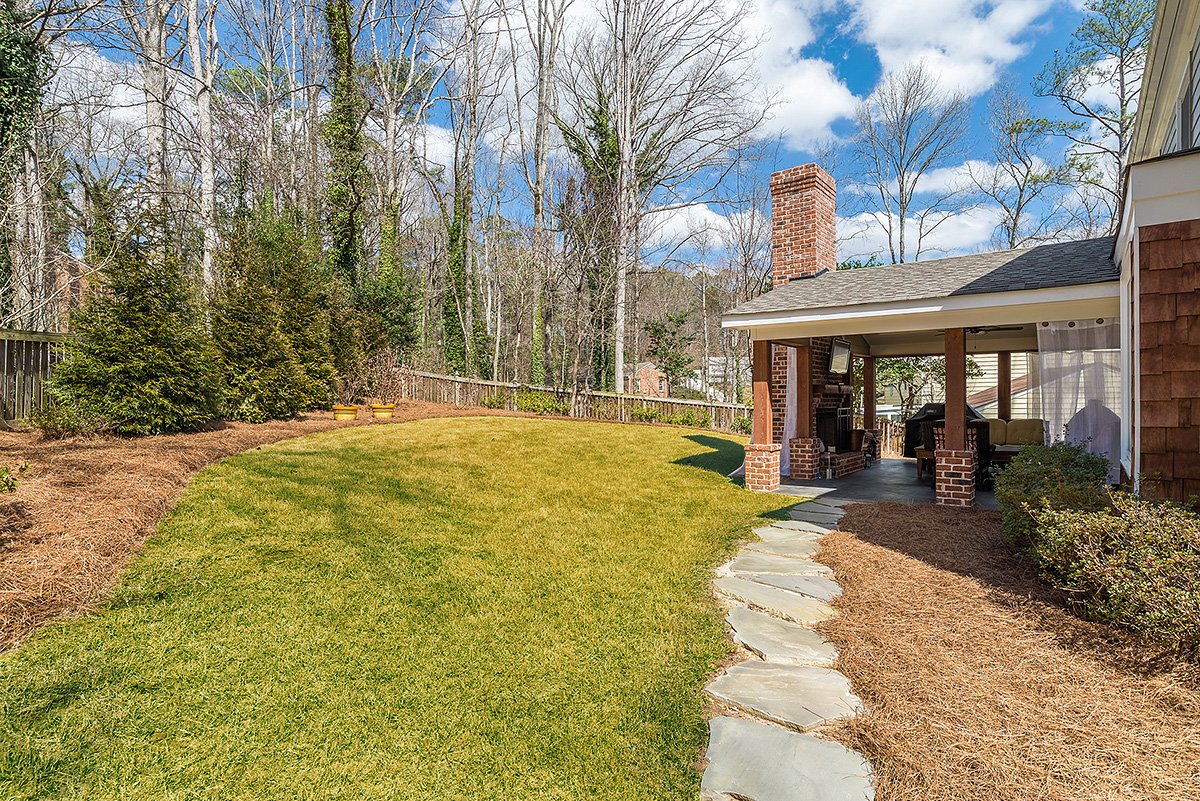
I made this edit made after delivering the photo to the client, just to test my skills.
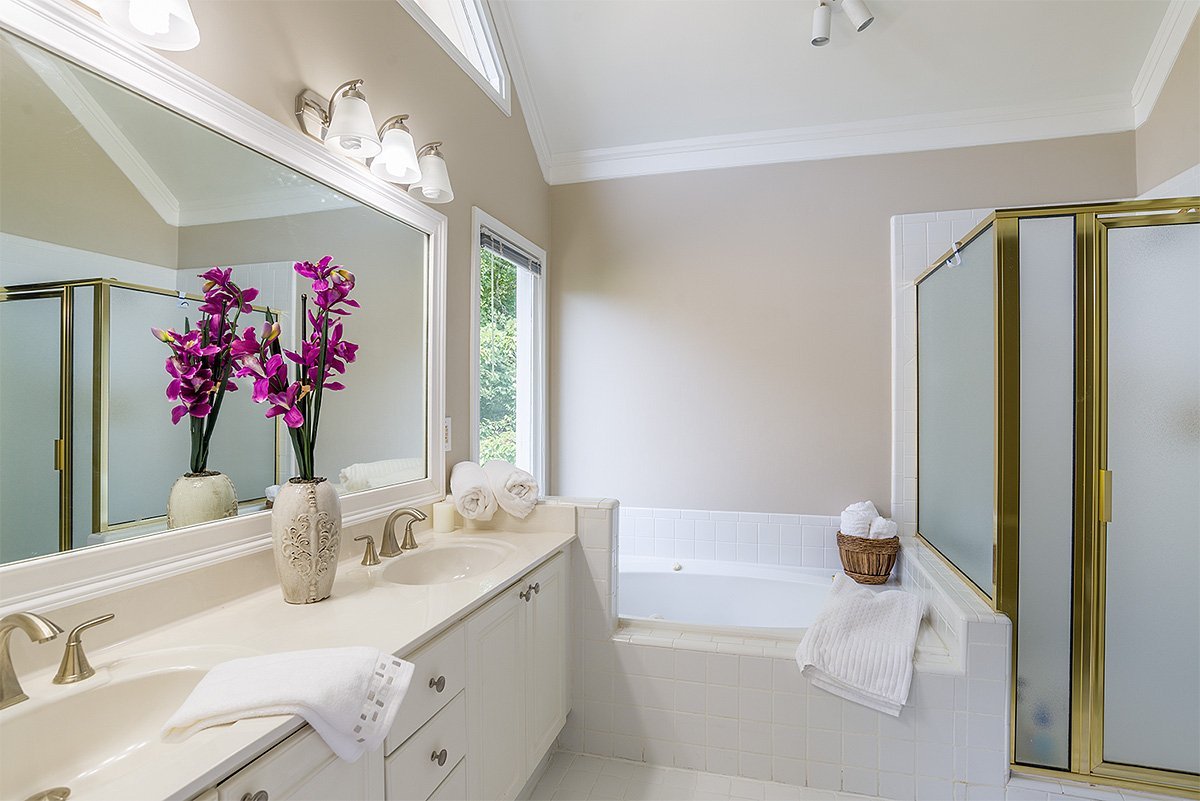
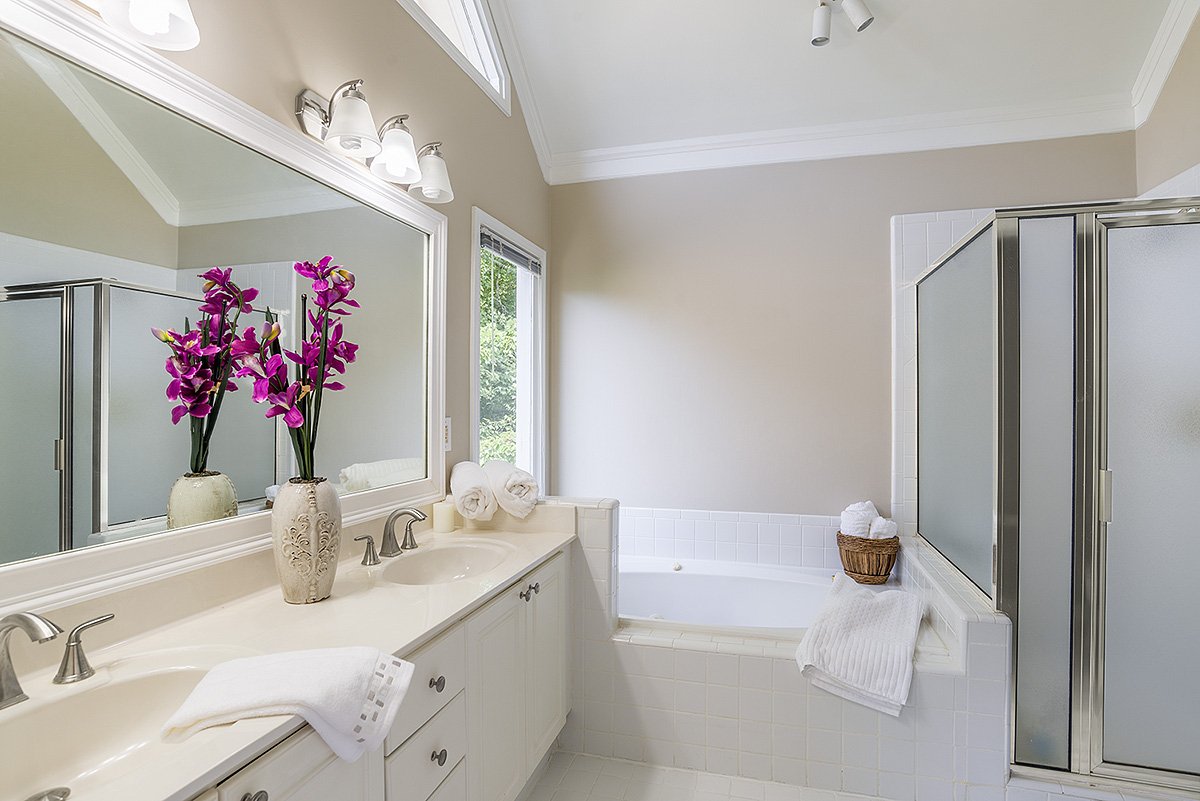
Brass to chrome.
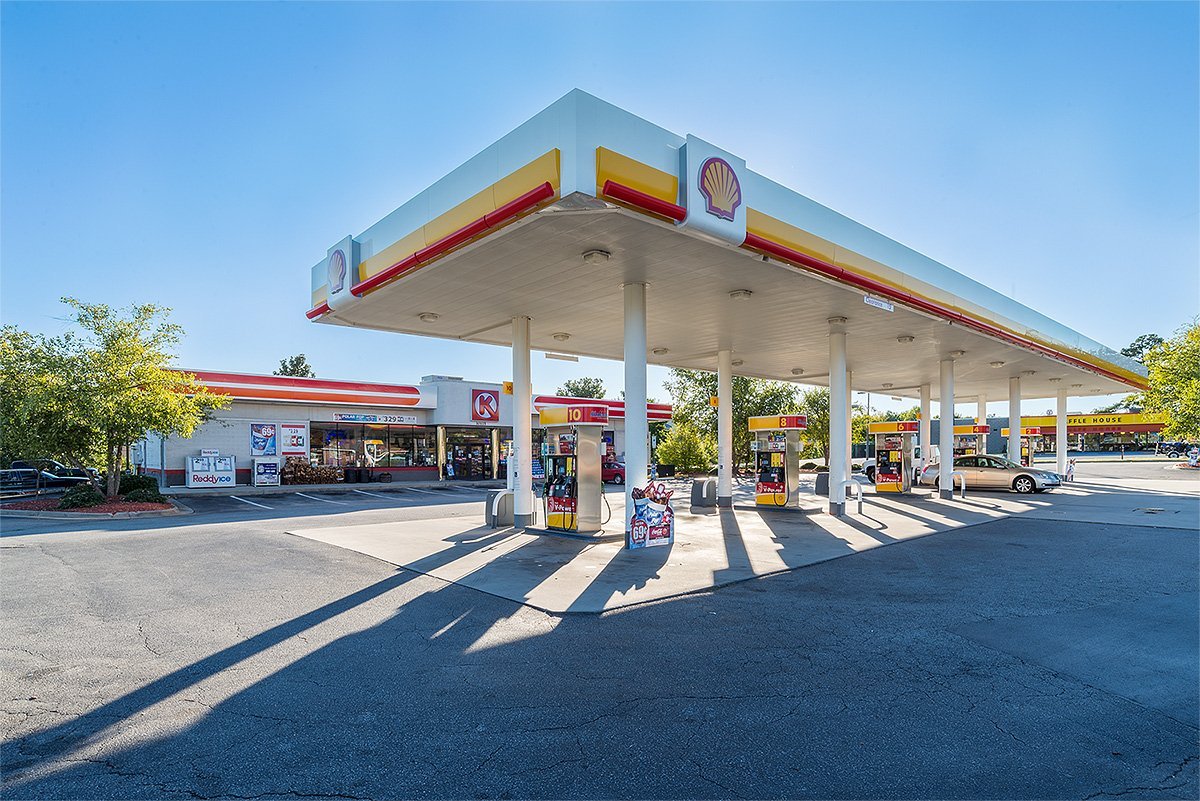
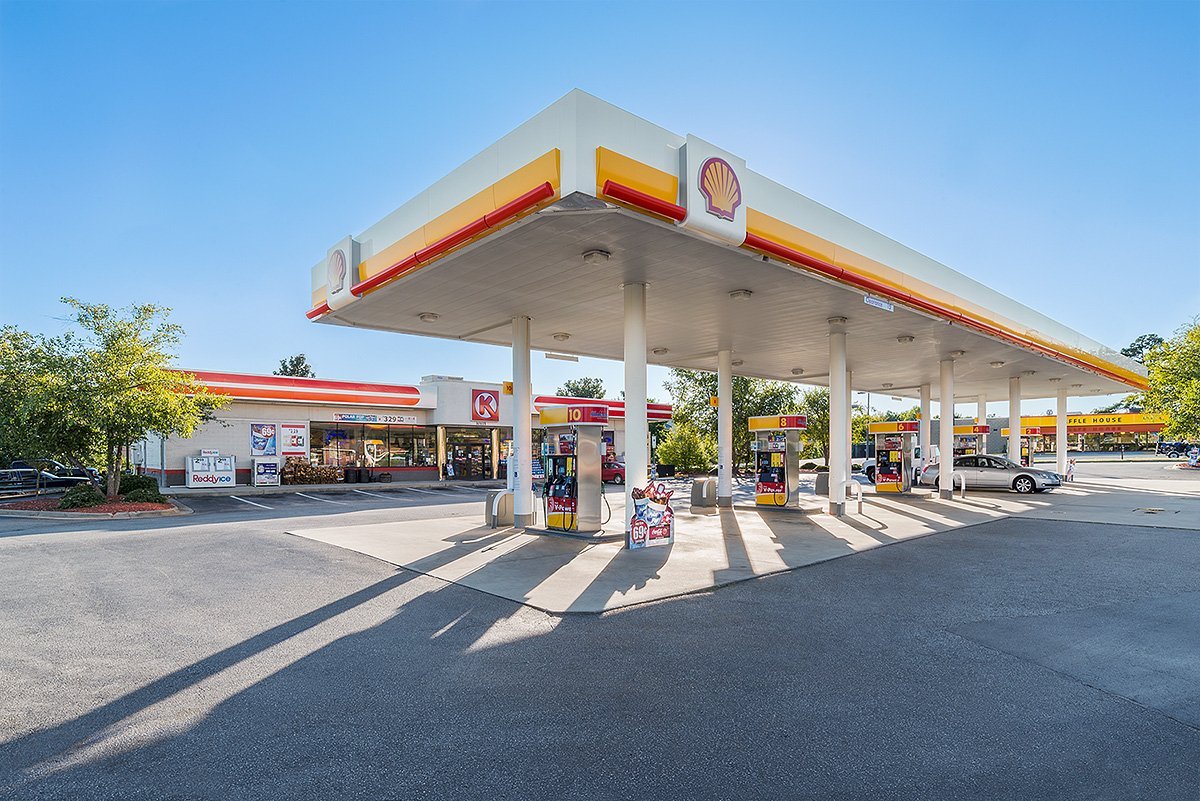
I removed the blue color cast in the shadows and cleaned up the cracks in the black-top.

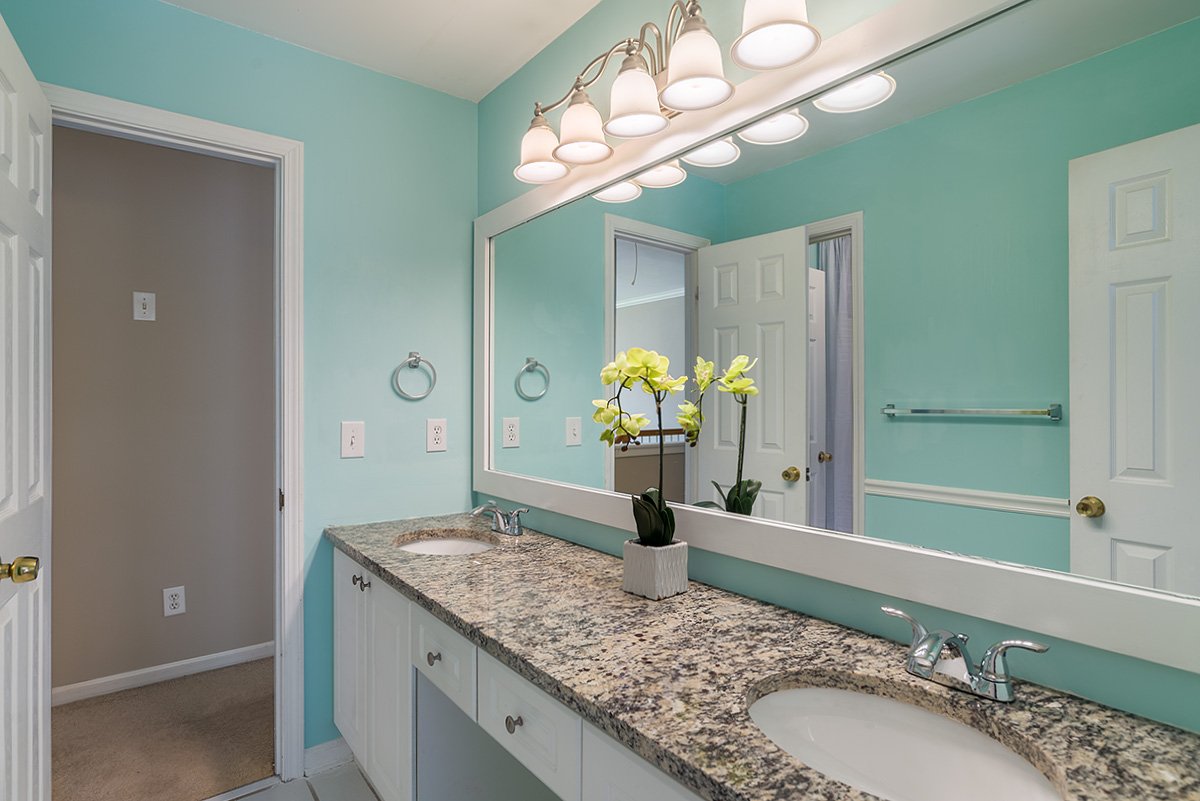
I always liked to correct the white balance in spaces that were visible beyond the room that I was photographing. In this case I had to correct for daylight (blue) and incandescent light (yellow). The small room with the shower in it (behind the bathroom door) was tiled with dark blue tiles, which is why that room still looks a bit blue.
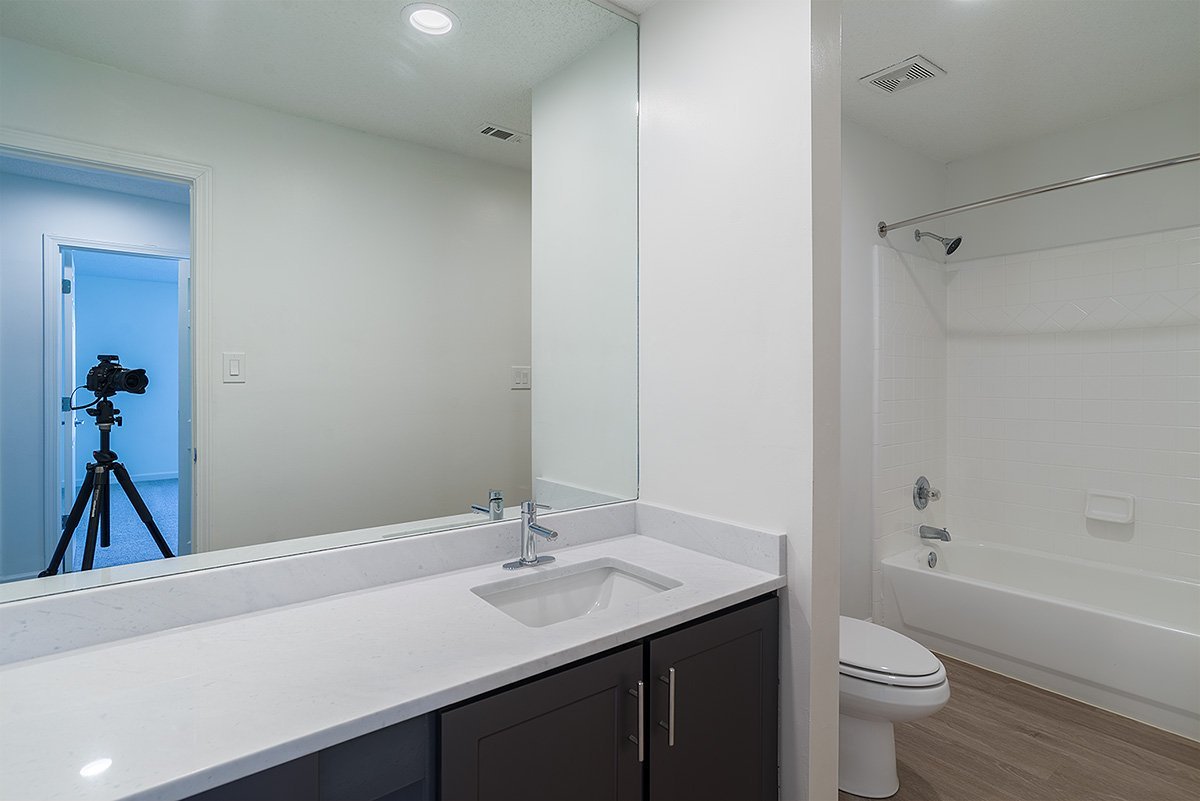
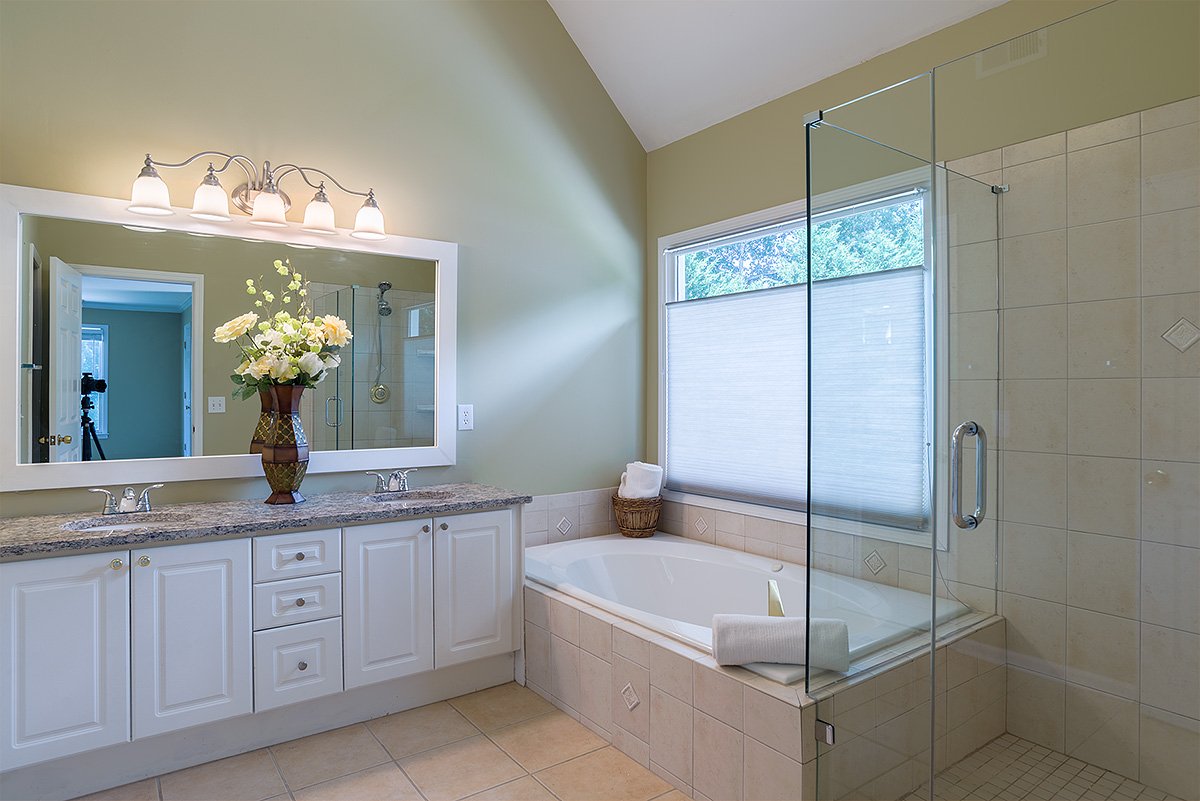
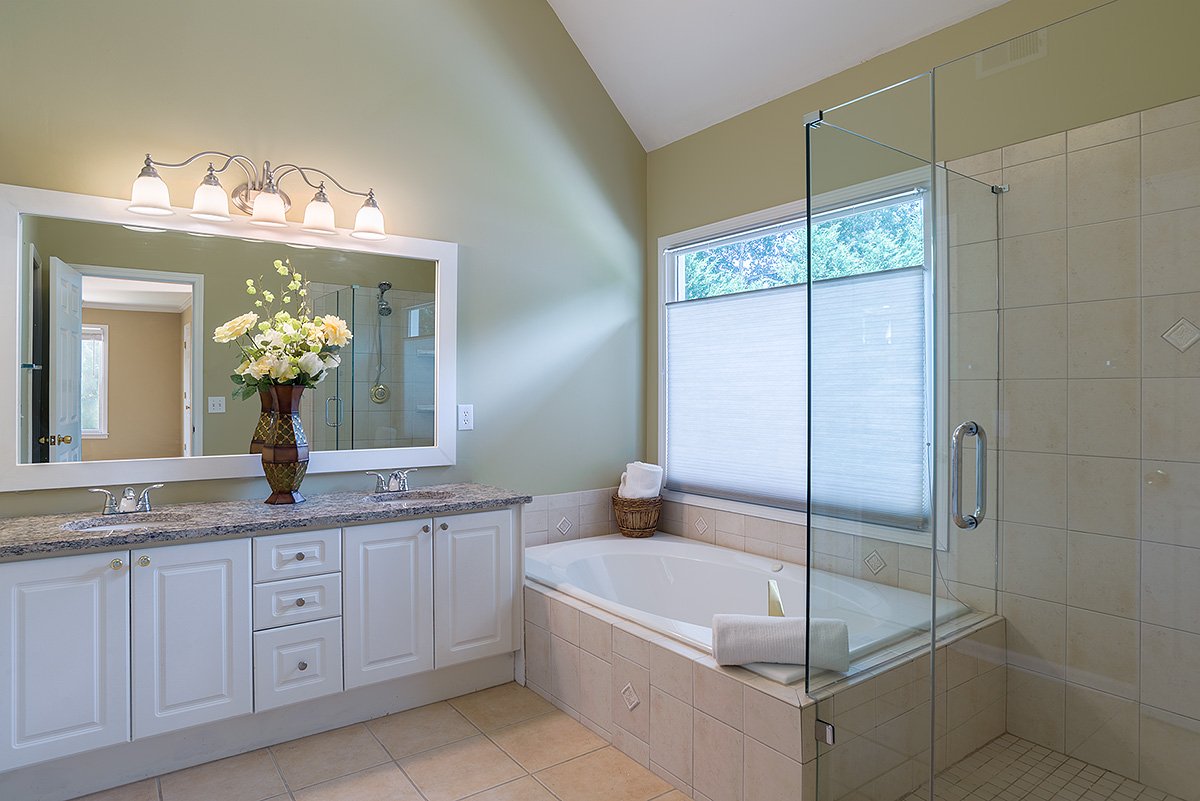
The master bedroom/hallway/other bedroom were primarily lit by daylight, which appears to be blue in comparison to incandescent light. I’ve corrected this lighting situation many times and usually do it by using an adjustment layer in Photoshop or by masking two versions of the image together, also in Photoshop.
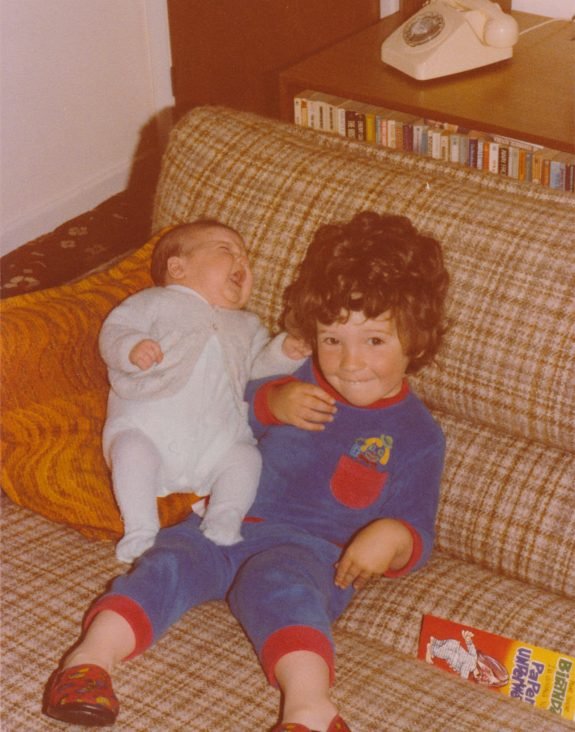
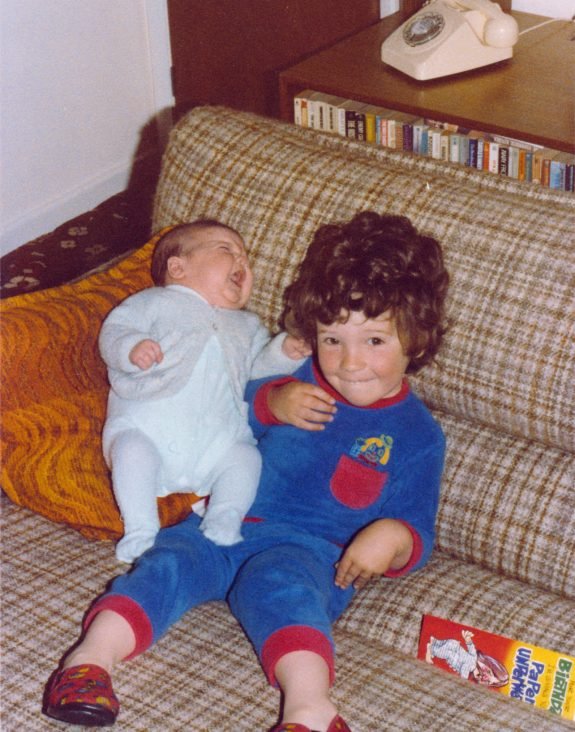
Color-corrected childhood photo.
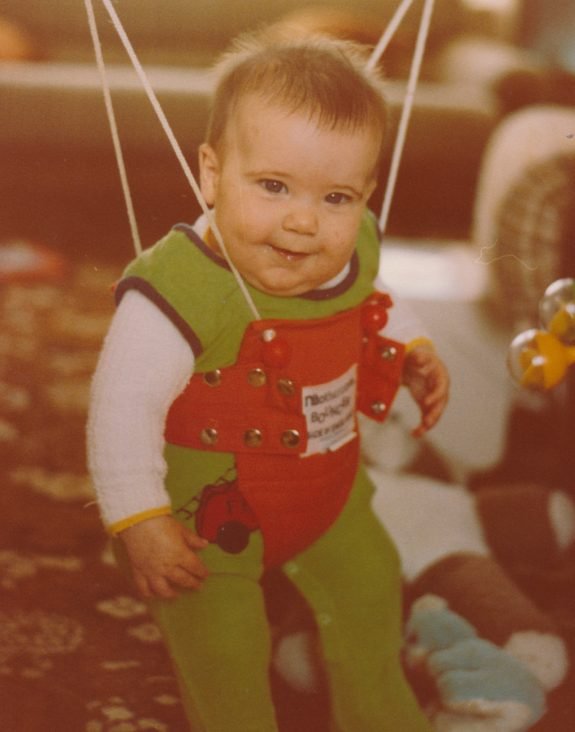
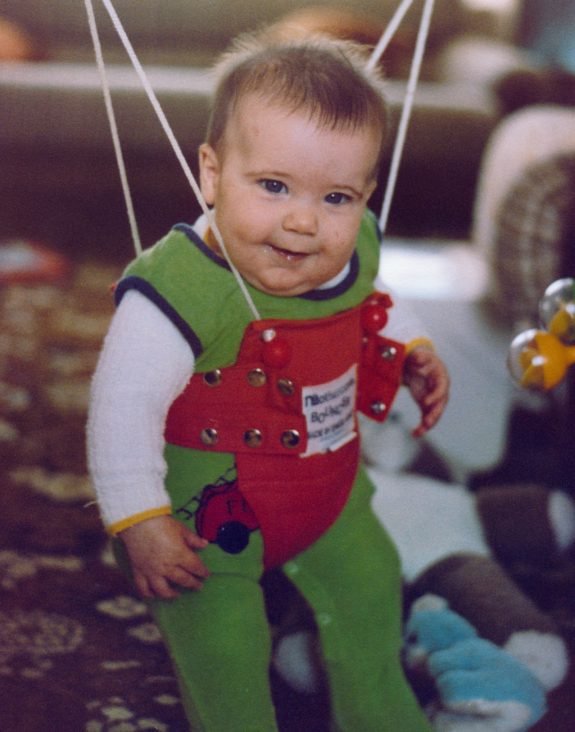
Color-corrected baby bouncer photo =)

